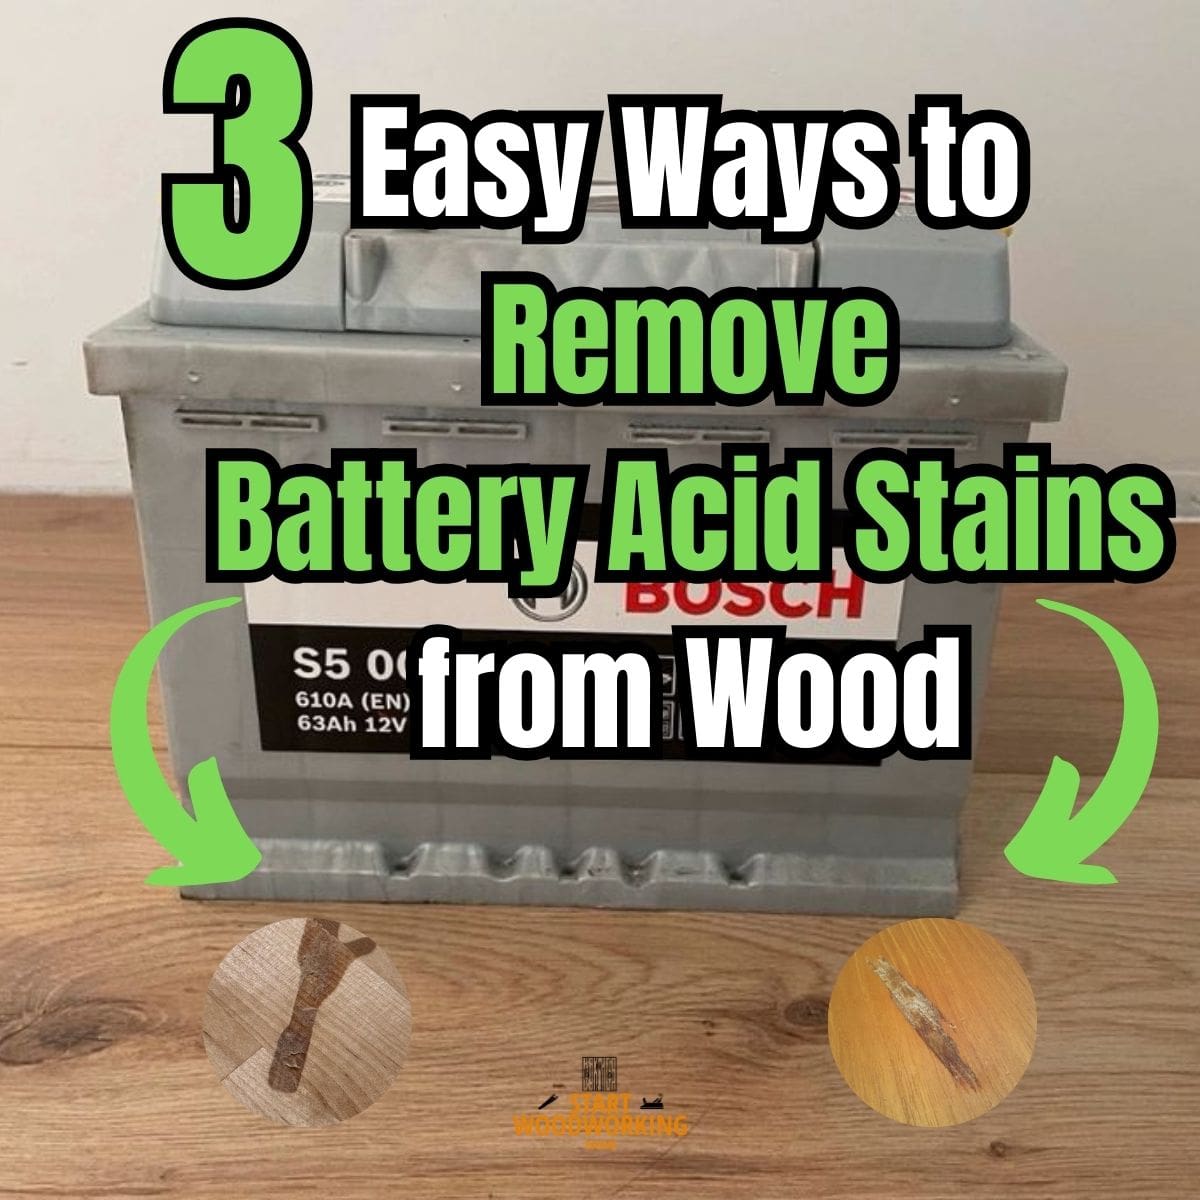
How to Remove Battery Acid Stains from Wood: Neutralisation and Bleaching Guide by Battery Type
Battery acid stains on wood require different neutralising agents depending on the battery type — because the two battery chemistries that cause wood damage are chemical opposites. Lead-acid batteries (car, boat, lawnmower) contain sulphuric acid (H₂SO₄, pH 0–1) — a strong acid requiring immediate neutralisation with baking soda (sodium bicarbonate, a base). Alkaline batteries (AA, AAA, C, D, 9V) contain potassium hydroxide (KOH, pH 13–14) — a strong base requiring neutralisation with diluted white vinegar (a mild acid). Applying vinegar to a lead-acid sulphuric acid spill adds more acid to an already acid-damaged surface and produces zero neutralisation. Applying baking soda to alkaline battery leakage is the correct approach. Speed of neutralisation is the primary determinant of damage extent — both chemistries continue to react with wood cellulose and finish polymer while the pH remains extreme.
This guide covers immediate neutralisation for both battery types, the oxalic acid protocol for the tannin discolouration that typically remains after neutralisation on high-tannin species, and the finish repair sequence after chemical treatment.
How Do You Remove Battery Acid Stains from Wood?
→ Related (same alkaline chemistry): How to Remove Ash Stains from Wood → Related: How to Remove Ammonia Stains from Wood → For a complete overview of wood stain removal: How to Remove Stains from Wood
Which Battery Type Caused the Damage?
Identifying the battery type takes seconds and determines the correct neutralising agent. Applying the wrong neutraliser — acid on acid or base on base — extends the damage rather than stopping it.
Lead-Acid Battery
Alkaline Battery
What Is the pH of Each Battery Chemistry and Why Does It Matter?
PH Scale: Battery Chemistry & Neutralization
pH 0–1 Lead-acid battery (H₂SO₄): Strongest acid scenario; causes rapid fiber breakdown.
NeutralizerpH 8.3+ Baking soda solution: 1 tbsp per 500ml water. Safely halts acid hydrolysis.
pH 13–14 Alkaline battery (KOH): Equivalent to concentrated caustic soda; dissolves finishes.
NeutralizerpH 3.5+ Vinegar (1:4 dilution): Mild enough to protect wood while neutralizing the base.
What Are the Key Specifications for Removing Battery Acid Stains from Wood?
| Step | Attribute | Value |
|---|---|---|
| Lead-acid battery (H₂SO₄) — neutraliser | Agent and concentration | Baking soda: 2–3 tablespoons in 500 ml water; apply immediately and generously |
| Lead-acid battery — neutraliser contact | Duration | Apply, allow to bubble (CO₂ release confirms acid-base reaction), repeat until bubbling stops |
| Alkaline battery (KOH) — neutraliser | Agent and concentration | White vinegar 1 part to 4 parts water; apply with cloth for 2–3 minutes |
| Post-neutralisation rinse | Agent | Clean water; wipe and dry immediately after neutralisation |
| Oxalic acid (post-neutralisation tannin discolouration) | Concentration | 60 g per litre warm water |
| Oxalic acid | Contact time | 15–20 minutes on bare wood; neutralise with baking soda solution after |
| Oxalic acid — affected species | High-tannin species most affected | Oak, walnut, chestnut, cherry, mahogany — produce intense dark discolouration from acid/base reaction with tannins |
| Structural assessment (H₂SO₄ on wood) | When required | After neutralisation — probe softened wood area; if fibres compress or crumble, structural damage present |
| Sandpaper — after neutralisation and bleaching | Starting grit | 80–100 grit for structurally damaged fibres; 120 grit for surface discolouration only |
| Safety — lead-acid spill | Personal protection | Chemical-resistant gloves (nitrile), safety goggles, respirator; H₂SO₄ causes immediate skin and eye damage on contact |
| Safety — alkaline battery | Personal protection | Nitrile gloves; KOH is caustic and causes skin irritation; less acute than H₂SO₄ but still requires protection |
| Drying time before refinishing | After water-based treatment | 24 hours minimum; oxalic acid neutralisation and water treatment raise wood grain |
How Do You Remove Lead-Acid Battery (Sulphuric Acid) Stains from Wood?
Sulphuric acid from lead-acid batteries is the most chemically aggressive substance that commonly contacts wood surfaces. H₂SO₄ at pH 0–1 immediately hydrolyses cellulose — the structural carbohydrate in wood fibres — breaking the polymer chains that give wood its strength.
On high-tannin species (oak, walnut, mahogany), it additionally produces intense dark iron-tannate compounds. Neutralisation must begin within minutes to limit the extent of both surface and structural damage.
STEP 1 – Put on gloves and goggles immediately — do not touch acid directly
Sulphuric acid causes immediate chemical burns on skin and permanent eye damage on contact. Chemical-resistant gloves (nitrile or neoprene) and safety goggles are mandatory before any contact with the spill area. Do not wipe the acid with a bare hand to assess the damage. If acid has contacted skin, flush immediately with large amounts of water for 15 minutes.
STEP 2 – Absorb excess liquid acid — do not spread
If the spill is fresh and still liquid, press dry paper towels or absorbent cloth onto the acid pool with straight downward pressure and lift straight up. Do not wipe — lateral movement spreads the concentrated acid across a larger surface area.
Remove as much liquid as possible before applying the neutraliser. Dispose of acid-contaminated absorbent material safely — do not leave it in contact with other materials.
STEP 3 – Apply baking soda solution generously — repeat until bubbling stops
Dissolve 2–3 tablespoons of baking soda (sodium bicarbonate) in 500 ml of water. Apply this solution generously to the acid-stained area. Baking soda neutralises sulphuric acid through an acid-base reaction: H₂SO₄ + 2NaHCO₃ → Na₂SO₄ + 2H₂O + 2CO₂. The visible CO₂ gas bubbling confirms the neutralisation reaction is occurring.
Continue applying fresh baking soda solution until no more bubbling occurs — this indicates the excess acid has been neutralised. For dried sulphuric acid residue (white crystalline deposits), apply baking soda solution and allow 5 minutes contact before wiping.
STEP 4 – Rinse with clean water and dry immediately
After neutralisation is confirmed (no more bubbling), wipe the area with a clean damp cloth to remove the sodium sulphate (Na₂SO₄) residue that forms from the neutralisation reaction.
Dry immediately and thoroughly — do not allow water to sit on the wood. Inspect the surface: the discolouration at this stage is from tannin damage and wood fibre breakdown — this is addressed in the following steps, not by further neutralisation.
STEP 5 – Assess structural integrity
After the neutralised area is dry, press firmly with a fingertip in the darkest area of the stain. If the wood fibres compress, crumble, or feel soft — the acid has hydrolysed the cellulose and structural damage is present.
Structurally damaged wood fibres must be sanded away before refinishing — the weakened material cannot hold finish adhesion and will continue to deteriorate. Sand at 80–100 grit to remove the degraded layer, progressing to 120 and 180 grit for finish preparation.
STEP 6 – Apply oxalic acid for residual tannin discolouration
After neutralisation, rinsing, and the 24-hour drying period, a brown to black discolouration typically remains in the wood — particularly intense on oak, walnut, mahogany, and chestnut. This discolouration is not from remaining acid but from tannin oxidation caused by the extreme pH contact.
Oxalic acid at 60 g per litre applied for 15–20 minutes converts the dark iron-tannate compounds to colourless iron oxalate. Neutralise the oxalic acid with baking soda solution (1 tablespoon per 500 ml), rinse, and allow 24 hours drying before final sanding and refinishing.
How Do You Remove Alkaline Battery (Potassium Hydroxide) Stains from Wood?
Alkaline battery leakage is the more common scenario — AA, AAA, and other consumer alkaline batteries leak KOH (potassium hydroxide) when they over-discharge, corrode, or are stored for extended periods. KOH at pH 13–14 saponifies (breaks down) organic materials including wood surface finishes, wax, and the surface fibres of bare wood. The white crystalline crust around a leaked battery is dried KOH — it is still caustic when moistened and requires neutralisation before removal.
STEP 1 – Wear gloves — KOH is caustic
Potassium hydroxide causes skin irritation and can cause eye injury. Nitrile gloves are sufficient for alkaline battery cleanup — the caustic hazard is lower than sulphuric acid but still requires protection, particularly for the crystalline KOH crust which is highly concentrated.
STEP 2 – Remove crystalline KOH crust dry — do not wet first
The white crystalline crust around a dried battery leak is solid KOH. Removing it dry (with a stiff brush or plastic scraper) prevents spreading a concentrated KOH solution across a larger wood surface area. Do not wipe a damp cloth over dry KOH before brushing away the bulk — the water dissolves the crystals and spreads the caustic solution. Brush the dry crystals into a sealed bag for disposal.
STEP 3 – Apply diluted white vinegar to neutralise residual KOH
Mix one part white vinegar with four parts water. Apply with a cloth to the stained area and allow 2–3 minutes contact. The acetic acid in diluted vinegar neutralises the residual KOH through the acid-base reaction: KOH + CH₃COOH → CH₃COOK + H₂O. Unlike the lead-acid scenario, this reaction does not produce visible bubbling — completion is confirmed by pH paper showing near-neutral (pH 6–8) or simply by the recommended contact time. Wipe clean and dry immediately.
STEP 4 – Oxalic acid for tannin discolouration on high-tannin species
On oak, walnut, and chestnut furniture where alkaline battery leakage has caused dark discolouration in the wood grain (the same mechanism as ash stains and ammonia damage), apply oxalic acid at 60 g per litre for 15 minutes after the vinegar neutralisation step and 24-hour drying.
Neutralise, rinse, and allow to dry before sanding and refinishing. On low-tannin species (maple, pine, beech), discolouration from alkaline battery leakage is typically lighter and may resolve with the vinegar neutralisation step alone.
Why the same oxalic acid step applies to both battery types: Both sulphuric acid and potassium hydroxide cause tannin oxidation when they contact wood species with high tannin content. The mechanism is different — sulphuric acid protonates the tannin phenolics, KOH oxidises them — but the result is the same dark iron-tannate discolouration that persists after neutralisation. Oxalic acid at 60 g per litre resolves this discolouration for both battery types by converting the dark iron-tannate to colourless iron oxalate through reduction.
How Does the Wood Surface Type Affect Battery Acid Stain Treatment?
| Surface Type | Lead-Acid (H₂SO₄) | Alkaline Battery (KOH) | Key Constraint |
|---|---|---|---|
| Polyurethane finish | Baking soda solution immediately; acid may blister/dissolve polyurethane — assess after neutralisation; local refinish likely needed | Vinegar 1:4 for 2–3 min; KOH may cloud or lift polyurethane finish — local refinish if finish damaged | Both extremes damage polyurethane film — assess finish condition after neutralisation; strip and refinish locally if blistered |
| Lacquer finish | Baking soda immediately; lacquer is more acid-sensitive than polyurethane — refinishing very likely needed | Vinegar 1:4; KOH rapidly destroys lacquer film — local refinish almost certain | Lacquer is the most vulnerable finish to pH extremes — neutralise immediately and assume finish refinishing will be required |
| Shellac (antique furniture) | Baking soda immediately; sulphuric acid damages shellac permanently — minimal solvent contact during cleanup | Vinegar 1:4 very briefly — both vinegar and KOH damage shellac; neutralise minimally and refinish | Most vulnerable finish — neutralise quickly and plan for shellac re-application over damaged area |
| Wax finish | Baking soda immediately; wax dissolves — re-apply paste wax after oxalic acid and 24h drying | Vinegar 1:4; KOH saponifies wax — re-wax after treatment | Wax finish provides no protection against either pH extreme — always re-wax after treatment |
| Bare / unfinished wood | Baking soda immediately; assess structural damage; oxalic acid for discolouration; sand 80–120–180 grit; apply new finish | Vinegar 1:4; oxalic acid for tannin discolouration on high-tannin species; 24h dry; sand 120–180 grit; refinish | No finish to protect but structural damage more severe on bare wood — acid penetrates faster into unprotected grain |
| Hardwood floor (sealed) | Lead-acid batteries are rare on floors; emergency baking soda wash; assess floor finish; professional refinish likely | Alkaline battery common (remote controls, clocks on shelves above); vinegar 1:4; oxalic acid if tannin stain; local floor refinish | Floor finish is often thinner than furniture finish — pH damage may penetrate faster into floor polyurethane |
Applying vinegar to a lead-acid sulphuric acid spill is contraindicated: White vinegar is acetic acid (pH 2.5). Applying vinegar to sulphuric acid (pH 0–1) adds additional acidity to an already highly acidic surface — it does not neutralise H₂SO₄. The correct neutraliser for sulphuric acid is always an alkaline substance: baking soda (sodium bicarbonate) or, for large industrial spills, lime. Vinegar is the correct neutraliser for alkaline battery (KOH) spills only. The two battery types require opposite chemistry for neutralisation.
📝 The most instructive battery acid scenario in my restoration workshop was a 1940s oak sideboard with a built-in clock compartment where three old AA batteries had been left for years and leaked KOH extensively. The dark discolouration on the internal oak panels extended 8–10 mm into the visible surface grain — characteristic of prolonged high-pH contact on a high-tannin species. Vinegar neutralisation removed the caustic residue cleanly, but the tannin discolouration required two oxalic acid applications at 60g per litre before the oak colour was close enough to match the unaffected panels. The internal compartment required local shellac refinishing after the bleaching and 180-grit preparation — the KOH had dissolved the original shellac film completely in the worst-affected areas.
Frequently Asked Questions About Removing Battery Acid Stains from Wood
Why does the neutralisation step come before the stain removal step?
Sulphuric acid at pH 0–1 and potassium hydroxide at pH 13–14 continue to react chemically with wood cellulose and finish films for as long as they remain on the surface at extreme pH. Stain removal methods — sanding, bleaching, refinishing — address the cosmetic residue of the damage, but cannot stop the ongoing chemical reaction. Neutralisation brings the pH to near-neutral, halting the cellulose hydrolysis or saponification reaction. A stain removal method applied before neutralisation is simply cosmetic work on a surface that is still being actively damaged underneath.
Can battery acid damage to wood be fully repaired?
Surface and light penetration damage — discolouration of finish film, tannin oxidation staining, light surface fibre damage — can be fully repaired through neutralisation, oxalic acid bleaching, sanding, and local refinishing. Structural damage from prolonged sulphuric acid contact — where the wood fibres have been hydrolysed and become soft or crumbly — can be repaired by sanding the damaged layer to undamaged wood and refinishing, but the material lost cannot be restored without wood filler or Dutchman inlay repair for deeper structural damage. The extent of irreversible damage is directly proportional to the time the acid was in contact before neutralisation.
What is the difference between alkaline battery leakage and lead-acid battery spill treatment?
They require opposite neutralisers because they are chemically opposite: sulphuric acid (lead-acid) is neutralised by baking soda (base), and potassium hydroxide (alkaline batteries) is neutralised by diluted vinegar (acid). Applying vinegar to a sulphuric acid spill adds more acidity — no neutralisation occurs. Additionally, lead-acid sulphuric acid is significantly more aggressive than KOH at equivalent contact times — H₂SO₄ at pH 0–1 causes structural cellulose hydrolysis that KOH at pH 13–14 does not produce as rapidly. Both produce tannin discolouration on high-tannin species that requires oxalic acid treatment after neutralisation.
Summary: Key Values for Removing Battery Acid Stains from Wood
Removing battery acid stains from wood requires identifying the battery type first — lead-acid batteries (car, boat) contain sulphuric acid (pH 0–1) neutralised by baking soda solution (2–3 tablespoons per 500 ml water) applied until CO₂ bubbling stops. Alkaline batteries (AA, AAA) contain potassium hydroxide (pH 13–14) neutralised by diluted white vinegar (1 part to 4 parts water) for 2–3 minutes.
Neutralisation halts the active chemical reaction and comes before any stain removal. After neutralisation, rinsing, and 24-hour drying, apply oxalic acid at 60 g per litre for 15–20 minutes to resolve tannin oxidation discolouration — particularly intense on oak, walnut, chestnut, and mahogany.
Neutralise oxalic acid with baking soda solution, dry 24 hours, sand 80–180 grit if needed, and refinish. Applying vinegar to a lead-acid sulphuric acid spill is contraindicated — it adds acidity rather than neutralising it. The extent of irreversible structural damage is directly proportional to the time elapsed before neutralisation.
→ Related: How to Remove Ash Stains from Wood (same alkaline neutralisation protocol)
→ Related: How to Remove Ammonia Stains from Wood