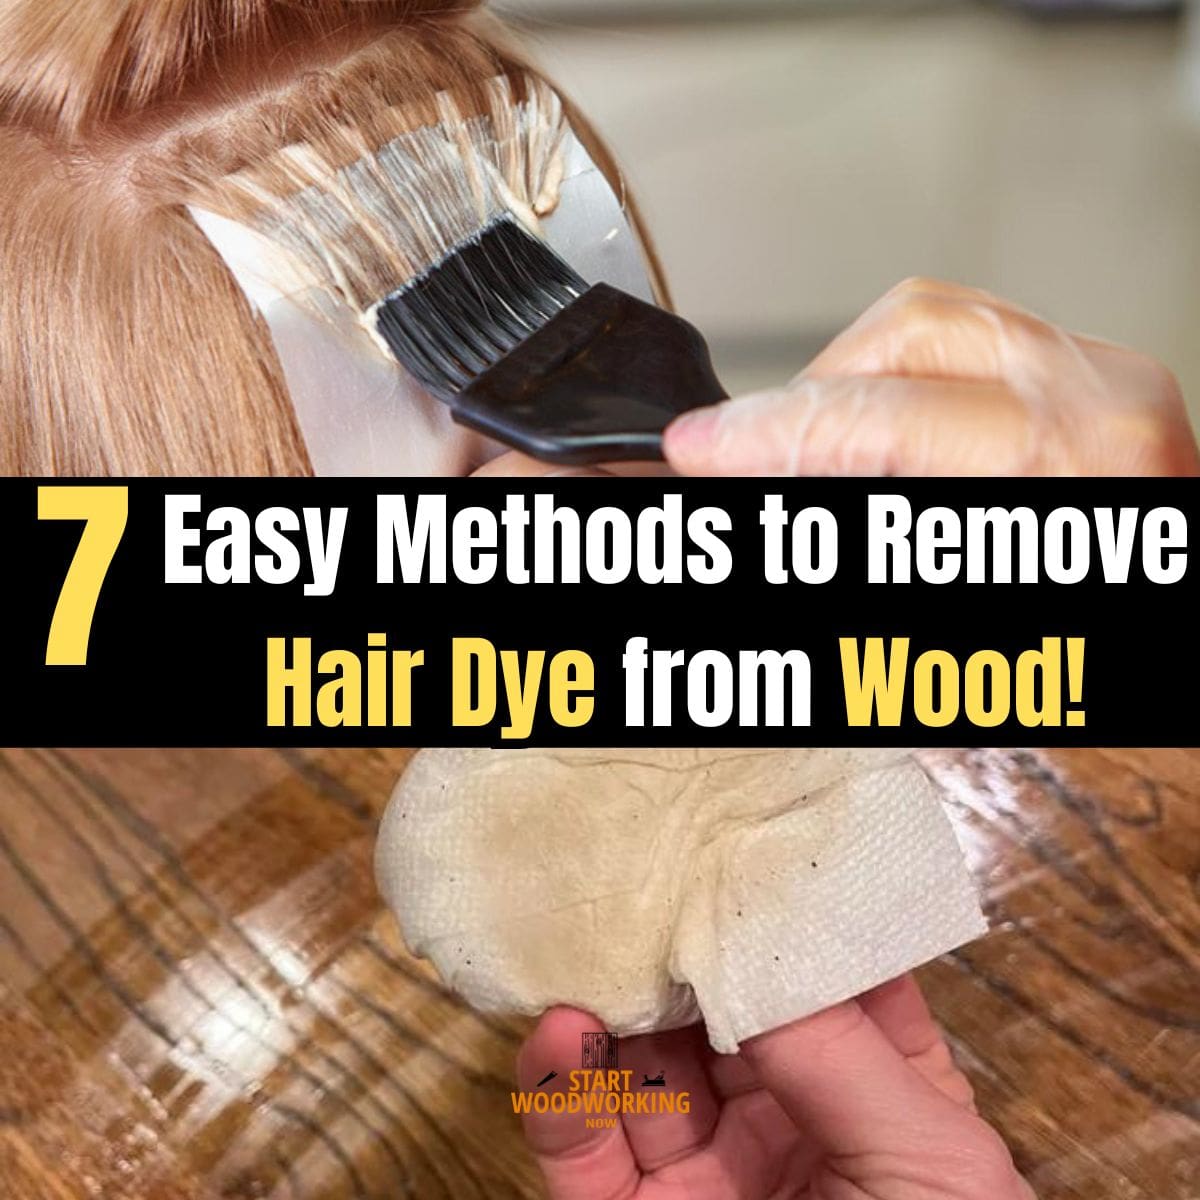
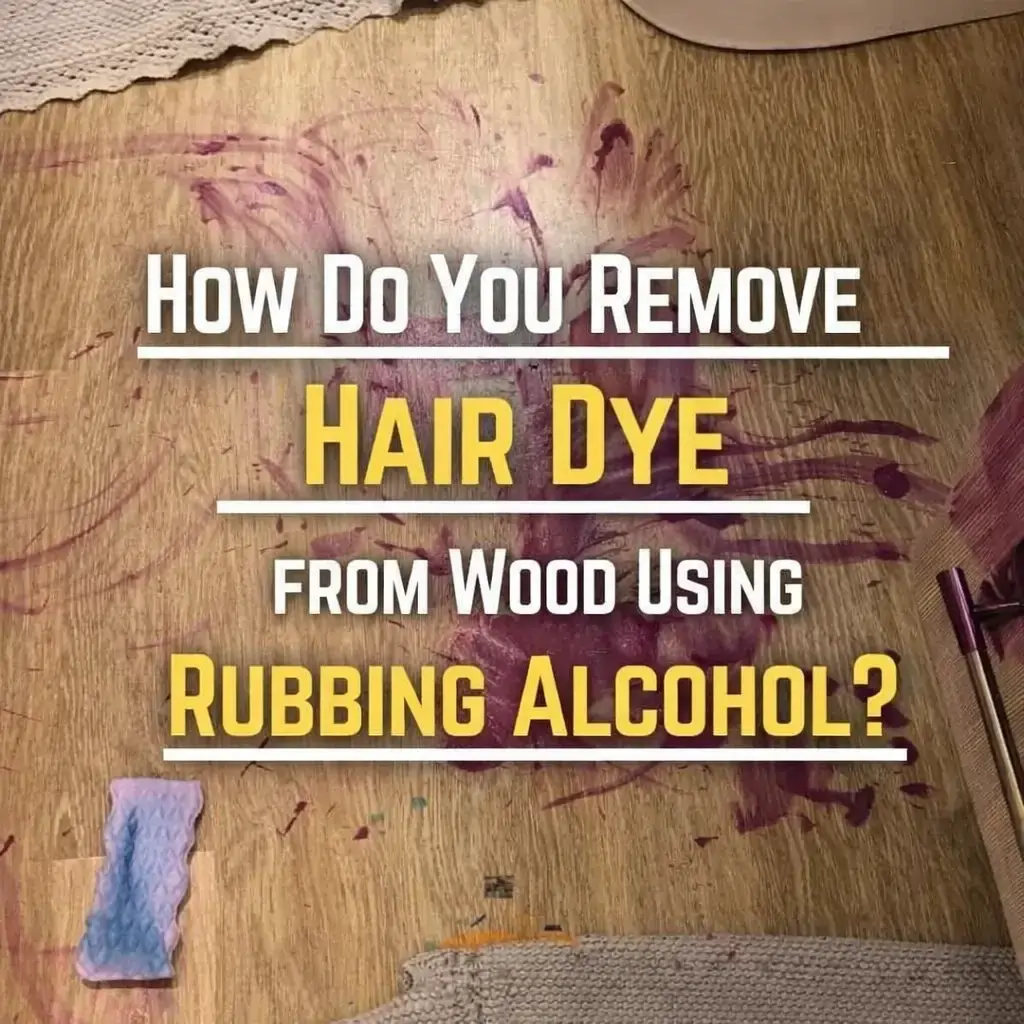
How to Remove Hair Dye from Wood: Rubbing Alcohol, Hydrogen Peroxide, and Sanding Guide
Hair dye stains wood by depositing oxidative pigment molecules — typically p-phenylenediamine (PPD) compounds activated by hydrogen peroxide — into the surface of the finish or, on unfinished wood, directly into the open wood grain. Removing hair dye from wood requires either dissolving the pigment with rubbing alcohol or acetone on sealed finishes, bleaching the oxidised pigment with hydrogen peroxide paste on bare or lightly finished wood, or sanding through the stained surface layer when the dye has fully cured into the grain. The correct method depends on three factors: how long the dye has been on the surface, whether a protective finish is present, and the porosity of the wood species.
This guide covers all three effective removal methods with exact contact times, product concentrations, surface-specific instructions, and the conditions under which each approach produces a permanent result.
How Do You Remove Hair Dye from Wood?
→ For a complete overview of all wood stain and finish removal: How to Remove Wood Finishes and Stains
Why Is Hair Dye Harder to Remove from Wood Than Other Stains?
Hair dye is chemically more aggressive than most household stains because it is specifically formulated to penetrate and bond with keratin — the protein structure of hair fibres. Wood does not contain keratin, but the oxidative chemistry of hair dye still causes it to bond rapidly to wood lignin and to the polymer chains in finish coatings.
Permanent hair dyes contain two active components: an oxidative dye precursor (PPD or similar compound) and hydrogen peroxide developer. When mixed, the peroxide oxidises the dye precursor inside the target structure — hair fibre or, in the case of a spill, wood grain or finish film — creating large, coloured pigment molecules that are too large to be simply rinsed out.
This is why water, soap, lemon juice, and cooking oil have no meaningful effect on cured hair dye stains — they do not break the chemical bond between the oxidised pigment and the wood or finish substrate. Effective removal requires either a solvent that dissolves the finish layer containing the pigment (rubbing alcohol, acetone), an oxidant that breaks down the pigment molecules themselves (hydrogen peroxide at higher concentration), or physical abrasion that removes the stained material entirely (sanding).
What Are the Key Specifications for Removing Hair Dye from Wood?
| Method | Attribute | Value |
|---|---|---|
| Rubbing alcohol (isopropyl) | Minimum concentration required | 70% isopropyl alcohol minimum; 90–99% preferred |
| Rubbing alcohol | Contact time on fresh dye (under 1 hour) | Immediate application — blot, do not rub |
| Rubbing alcohol | Contact time on dried dye | 2–3 minutes saturated contact before blotting |
| Acetone (nail polish remover) | Use case | Sealed finishes only — laminate, polyurethane; never on bare wood or shellac |
| Hydrogen peroxide paste | Concentration for wood bleaching | 3% (standard pharmacy) for light stains; 6–9% for deep or dark dye |
| Hydrogen peroxide paste | Contact time | 10–30 minutes; check every 10 minutes |
| Baking soda + hydrogen peroxide paste | Ratio | 1 part baking soda to 2 parts 3% hydrogen peroxide |
| Sandpaper — initial pass (cured dye on bare wood) | Starting grit | 80 grit |
| Sandpaper — final pass | Grit | 180 grit before refinishing |
| Oxalic acid wood bleach | Use case | Deep, fully cured dye on bare or oiled wood where sanding risks structural damage |
| Fresh dye spill — first action | Immediate response | Blot with dry cloth immediately — do not rub or spread |
| Post-treatment surface wash | Agent | Damp cloth with clean water; dry immediately |
| Spot test requirement | Location | Always test on inconspicuous area before full application |
Which Removal Method Is Right for Your Hair Dye Stain Situation?
| Situation | Correct Method | Key Reason |
|---|---|---|
| Fresh dye (under 30 minutes), any sealed surface | Blot immediately + rubbing alcohol 70–99% | Dye not yet oxidised — solvent extraction before bonding completes |
| Dried dye on polyurethane or lacquer finish | Rubbing alcohol 90–99% — 2–3 min contact | Alcohol dissolves the finish surface layer carrying the dye pigment |
| Dried dye on laminate or sealed surfaces | Acetone — blot, do not rub | Acetone breaks down the dye-surface bond on hard, non-porous finishes |
| Dried dye on wax finish | Rubbing alcohol + #0000 steel wool + paste wax | Alcohol removes dye; steel wool re-levels wax; fresh wax coat seals |
| Dried dye on bare or oiled wood (light stain) | Hydrogen peroxide paste (3%) — 10–20 min | Peroxide bleaches oxidised pigment molecules in open grain |
| Dark or fully cured dye on bare wood | Hydrogen peroxide paste (6–9%) + sanding 80 grit | Higher concentration bleach + mechanical removal of stained fibres |
| Cured dye penetrated deep into open grain (oak, ash) | Oxalic acid wood bleach + sanding | Oxalic acid reaches deeper than hydrogen peroxide; neutralises pigment in pore channels |
| Dye on shellac finish | Rubbing alcohol — blot only, 30 sec max contact | Alcohol dissolves shellac — extended contact removes the finish entirely |
📝 In my restoration work, the most common hair dye scenario I encounter is bathroom vanity units with a polyurethane finish — typically a spill during home hair dyeing that sat for several hours before the client noticed. At 90% isopropyl alcohol with 2–3 minutes of blot contact, the dye lifts cleanly from polyurethane in the majority of cases without any finish damage. The exception is when the finish is worn through in high-contact areas — then the dye has reached bare wood and rubbing alcohol alone is no longer sufficient.
How Do You Remove Hair Dye from Wood Using Rubbing Alcohol?
Rubbing alcohol — isopropyl alcohol at 70–99% concentration — is the correct first-response method for hair dye on sealed wood finishes. It works by dissolving the surface layer of the finish film that has absorbed the dye pigment, allowing the pigment-loaded finish material to be lifted away with a cloth.
The higher the isopropyl concentration, the faster and more completely it dissolves the dye-bearing finish layer — 90–99% isopropyl is significantly more effective than the standard 70% pharmacy version.
STEP 1 – Blot fresh dye immediately — do not rub
If the dye spill is fresh, blot it immediately with a clean dry cloth using straight downward pressure. Do not rub — rubbing spreads the dye laterally across a larger area and pushes it into the finish pores. Remove as much liquid dye as possible through blotting before applying any solvent. On fresh spills, this step alone can remove 60–80% of the dye before it begins to oxidise and bond to the surface.
STEP 2 – Apply rubbing alcohol to a cotton cloth — do not pour directly onto wood
Saturate a clean white cotton cloth or cotton pad with isopropyl alcohol. Do not pour alcohol directly onto the wood surface — direct pouring causes the solvent to run into surrounding areas and can damage the finish beyond the stained zone. White cloth is important: coloured cloths can transfer dye onto the wood surface under solvent contact.
STEP 3 – Blot and press the saturated cloth onto the stain
Press the alcohol-saturated cloth firmly onto the stain and hold for 2–3 minutes on dried dye, or blot and lift immediately on fresh dye. The alcohol needs contact time to dissolve the dye-bearing finish layer — insufficient contact time is the most common reason this method fails. After the contact time, lift the cloth and check for dye transfer onto the cloth. If dye has transferred, move to a clean section of cloth and repeat.
STEP 4 – Work from the stain edge inward
On larger stains, always work from the outer edge of the stain inward toward the centre. Working from the centre outward spreads dissolved dye to clean areas. Overlap each application slightly with the previous clean area to prevent a tide mark forming at the solvent boundary.
STEP 5 – Clean the surface and restore the finish
After the dye has been fully removed, wipe the treated area with a damp cloth and dry immediately. If the finish appears dull or slightly hazy after alcohol treatment — which can happen on wax and some lacquer finishes — apply a thin coat of matching paste wax or polish and buff to restore uniform sheen. On polyurethane finishes, alcohol rarely causes visible dulling at brief contact times.
How Do You Remove Hair Dye from Bare or Lightly Finished Wood Using Hydrogen Peroxide?
Hydrogen peroxide is the correct method for hair dye on bare, oiled, or lightly waxed wood where the dye has penetrated the grain rather than sitting on a sealed finish surface. It works by oxidising the dye pigment molecules — reversing the oxidation reaction that created the colour in the first place — and breaking them down into smaller, colourless compounds that can be wiped away or sanded out.
Standard pharmacy-grade hydrogen peroxide (3%) is effective on light, recently applied stains. For dark dye or stains present for more than 24 hours on bare wood, use a 6–9% concentration available from beauty supply stores (sold as “20 volume” developer).
Do not use concentrations above 9% on wood without testing — higher concentrations can bleach the wood itself in addition to the dye, lightening the surrounding area.
STEP 1 – Mix baking soda and hydrogen peroxide into a paste
Combine one part baking soda with two parts hydrogen peroxide (3% for light stains, 6% for dark or old stains) to form a thick paste. The baking soda increases the viscosity so the paste stays in contact with the stain rather than running, and provides mild mechanical abrasion to help lift loosened pigment from the grain surface.
Apply immediately after mixing — the peroxide begins releasing oxygen on contact with the baking soda and loses effectiveness if left to sit before application.
STEP 2 – Apply the paste to the stain and cover
Apply the paste directly onto the stained area using a plastic spatula or gloved finger, building up a layer approximately 3–4 mm thick. Cover the paste with a small piece of plastic film to slow evaporation and maintain active contact with the wood.
Allow to react for 10–30 minutes, checking every 10 minutes. The stain will visibly lighten as the peroxide oxidises the pigment — stop the treatment when the stain has lightened to match the surrounding wood tone.
STEP 3 – Remove paste and assess
Wipe away the paste with a damp cloth and dry the surface. Inspect in raking light. If the stain has lightened but not fully disappeared, apply a second treatment after allowing the wood to dry for 30 minutes.
If the stain is fully gone, allow the surface to dry for 2 hours before sanding or refinishing — hydrogen peroxide raises the wood grain slightly as it dries, and the raised fibres must be fully dry before the final 180-grit smoothing pass.
How Do You Remove Fully Cured Hair Dye from Wood by Sanding?
Sanding is the definitive removal method for hair dye that has fully cured into bare or oiled wood grain and has not responded to two cycles of hydrogen peroxide treatment. It physically removes the stained wood fibre layer rather than attempting chemical dissolution. The grit sequence and technique follow the same principles as removing other penetrating stains from wood.
Always apply a rubbing alcohol or hydrogen peroxide pre-treatment before sanding — this partial dissolution of the dye reduces the depth to which sanding must reach and prevents the stained material from clogging the sandpaper immediately on the first pass.
| Grit | Stage | Purpose |
|---|---|---|
| 80 grit | Initial pass | Removes dye-stained surface wood fibres; reaches below the dye penetration depth |
| 120 grit | Intermediate pass | Removes 80-grit scratches; smooths the exposed bare wood |
| 180 grit | Final pass | Prepares surface for new finish application; open grain without deep scratches |
Sand in the grain direction at all stages. After the 80-grit pass, wipe with a mineral spirits-dampened cloth — if any dye colour transfers to the cloth, the 80-grit pass has not reached below the full dye penetration depth and must be repeated before progressing to 120 grit. A clean cloth after the mineral spirits wipe confirms the dye has been fully removed.
How Does the Surface Type Affect Hair Dye Removal?
| Surface Type | Dye Behaviour | Primary Method | Key Limitation |
|---|---|---|---|
| Polyurethane finish | Dye sits on finish surface — does not penetrate wood | Rubbing alcohol 90% — 2–3 min contact | Extended contact dulls finish; reapply wax if needed |
| Lacquer finish | Dye partially dissolves into lacquer film | Rubbing alcohol 70–90% — blot method | Vigorous rubbing can remove lacquer along with dye |
| Shellac finish | Dye dissolves into shellac film rapidly | Rubbing alcohol — maximum 30 sec contact per application | Alcohol dissolves shellac — limit contact time strictly |
| Wax finish (beeswax, paste wax) | Dye absorbed into wax layer | Rubbing alcohol + #0000 steel wool + new wax coat | Wax must be re-applied after treatment to restore protection |
| Bare wood (unsealed) | Dye penetrates grain — depth depends on porosity and time | Hydrogen peroxide paste 3–9% + sanding if needed | Open-grain species (oak, ash) absorb more deeply — may require 80-grit start |
| Oiled wood (danish oil, tung oil) | Dye penetrates oil layer into grain | Hydrogen peroxide paste + re-oil after treatment | Surface oil must be re-applied after treatment |
| Laminate surface | Dye sits on non-porous surface — does not penetrate | Acetone — blot with cotton pad | Acetone can dull laminate surface finish; test first |
| Hardwood floor (finished) | Dye on finish surface unless floor is worn through | Rubbing alcohol spot treatment; floor sander if penetrated to bare wood | Spot sanding requires full board re-staining and finishing to match |
📝 The most demanding case I dealt with was a wax-finished oak side table where dark brown hair dye had been left overnight — the open grain of the oak had absorbed the dye well below the wax layer. Rubbing alcohol removed the dye from the wax surface, but a faint stain remained in the pore channels. I applied 6% hydrogen peroxide paste twice, 20 minutes each, which lightened the remaining pigment enough to become invisible against the oak’s natural colour variation. A fresh coat of beeswax paste restored the surface completely.
Frequently Asked Questions About Removing Hair Dye from Wood
How quickly must you act to remove hair dye from wood before it becomes permanent?
Hair dye begins bonding to wood surfaces immediately on contact as the oxidation reaction proceeds. On sealed finishes, you have approximately 15–30 minutes before the dye bonds strongly to the finish film — blotting within this window followed by rubbing alcohol removes the stain completely in most cases. On bare or oiled wood, penetration begins within 5 minutes and becomes significantly harder to reverse after 2 hours as the oxidised pigment molecules fully bond to the wood lignin. Old stains present for more than 24 hours on bare wood almost always require hydrogen peroxide bleaching combined with sanding for complete removal.
Does rubbing alcohol damage wood finishes when used to remove hair dye?
Rubbing alcohol at 70% concentration causes minimal finish damage when used with brief contact times on polyurethane and lacquer finishes — 2–3 minutes of blot contact does not visibly affect these finishes in most cases. At 90–99% concentration, the dissolving action is stronger and more likely to dull or haze a wax finish, which requires re-waxing after treatment.
On shellac finishes, any concentration of rubbing alcohol dissolves the finish rapidly — limit contact to under 30 seconds per application and test on an inconspicuous area first. Acetone causes permanent damage to most wood finishes except laminate and is not recommended for finish surfaces.
Why do natural remedies like lemon juice, olive oil, and baking soda with vinegar fail to remove hair dye from wood?
Lemon juice, olive oil, and vinegar-based remedies do not remove hair dye from wood because they do not interact with the chemical bond between the oxidised dye pigment and the wood or finish substrate. Hair dye pigment bonds to wood through oxidative chemistry — the dye precursors are polymerised by hydrogen peroxide into large, stable molecules bonded to the lignin in wood.
Breaking this bond requires either a solvent that dissolves the finish layer containing the pigment (rubbing alcohol, acetone) or an oxidant that reverses the pigment polymerisation reaction (hydrogen peroxide). Acids, oils, and mild abrasives do not achieve either of these chemical actions and produce, at best, a temporary masking effect.
What do you do if hair dye has penetrated through a worn floor finish into the bare wood?
When hair dye has penetrated through a worn or damaged floor finish into bare wood, surface-level solvent treatment is insufficient — the dye is inside the wood grain, not on the finish surface. Apply hydrogen peroxide paste (6–9%) to the stained area for 20–30 minutes to bleach the pigment in the grain, then allow to dry fully for 2 hours.
If the stain persists, sand the affected board starting at 80 grit through 120 to 180 grit, re-stain to match the surrounding floor colour, and reapply matching finish. Spot treatment of a floor board almost always requires re-staining and re-finishing the entire board to avoid a visible colour variation at the repair boundary.
Summary: Key Values for Removing Hair Dye from Wood
Removing hair dye from wood requires matching the method to the surface type and stain age. On sealed finishes — polyurethane, lacquer, wax — rubbing alcohol at 70–99% isopropyl concentration applied with a white cotton cloth for 2–3 minutes removes fresh and dried dye by dissolving the finish surface layer carrying the pigment.
On bare or oiled wood, hydrogen peroxide paste at 3% (light stains) or 6–9% (dark or old stains) bleaches the oxidised pigment in a 10–30 minute treatment. Fully cured dye that does not respond to two hydrogen peroxide cycles requires sanding from 80 to 120 to 180 grit after a mineral spirits pre-treatment, confirmed clean with a mineral spirits wipe test before refinishing.
On shellac finishes, limit rubbing alcohol contact to under 30 seconds per application. Natural remedies including lemon juice, vinegar, and cooking oil are chemically ineffective on oxidised hair dye pigment and produce only temporary or no improvement.
→ Related: How to Remove Alcohol Stains from Wood
→ Related: How to Remove Nail Polish from Wood
→ Hub: How to Remove Wood Finishes and Stains — Complete Guide