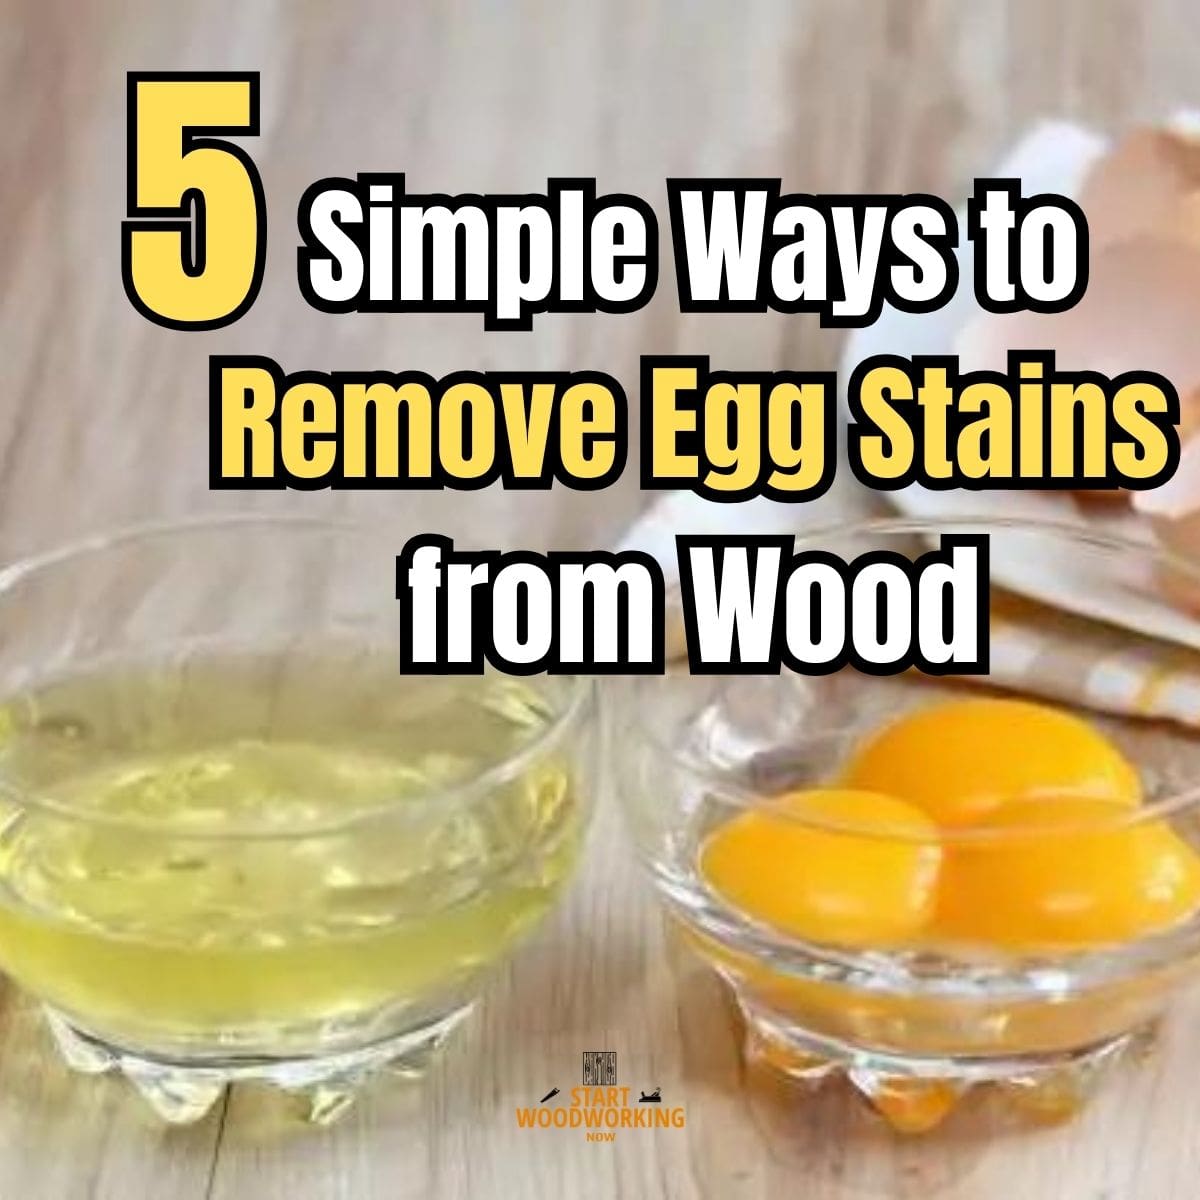
How to Remove Egg Stains from Wood: Cold Water Protocol, Enzyme Treatment, and Lipid Removal Guide by Cure State
Egg stains on wood require cold water — never warm or hot. Egg white (albumin) and egg yolk proteins coagulate and bond permanently to wood fibres at temperatures above 62°C. Warm water, hot water, and steam — all commonly recommended in general stain removal guides — fix the protein stain into the wood grain by completing the denaturation process that heat began. Cold water keeps the protein soluble and removable. The removal protocol depends on which part of the egg caused the stain and how long it has been in contact with the wood: fresh egg white dissolves completely in cold water with diluted detergent in under 5 minutes; egg yolk requires a secondary mineral spirits pass after protein removal to address the lipid (fat) component; dried egg on bare wood responds to enzyme-based detergent (biological laundry detergent containing protease) at room temperature, which breaks down the coagulated albumin without the thermal risk of hot water.
This guide covers the chemistry of each egg component, the four cure states that determine the correct protocol, the cold water rule, the enzyme treatment for dried egg, and the lipid removal step required for yolk stains on bare wood.
→ Related: How to Remove Grease from Wood (same lipid removal — mineral spirits protocol)→ Hub: How to Remove Stains from Wood — Complete Guide
How Do You Remove Egg Stains from Wood?
What Is the Chemistry of an Egg Stain on Wood?
An egg contains two chemically distinct components that leave different types of staining and require different treatment steps.
Globular protein (ovalbumin, ovotransferrin, lysozyme). Water-soluble when fresh and undenatured. Cross-links into an insoluble network when heated above 62°C or when fully air-dried.
Appearance on wood:Clear to slightly cloudy film on surface; may appear white or milky when fully dry; no colour on its own.
Fresh state (under 30 min):Completely soluble in cold water + diluted detergent. Removes in 2–5 minutes.
Dried state:Partially denatured — requires enzymatic protease (biological detergent) to break peptide bonds at room temperature. Cold water rehydrates first.
On sealed finish:Sits on surface — easier removal. On bare wood: penetrates pores — more contact time needed.
Protein (lipovitellin, phosvitin) + lipids (lecithin, cholesterol, triglycerides). Lipid content approximately 33% by weight. The protein component is treated identically to egg white. The lipid component is not water-soluble — it requires a non-polar solvent.
Appearance on wood:Yellow to amber stain; greasy feel; penetrates open grain on bare wood rapidly.
Why yolk needs two steps:Cold water + detergent removes the protein fraction. The lipid fraction remains in the wood grain as a yellow-amber greasy residue. If not treated with mineral spirits after protein removal, the lipid oxidises over days to weeks and produces a permanent yellow-brown stain with a rancid odour.
On sealed finish:Lipid sits on surface — mineral spirits wipe. On bare wood: lipid absorbed into pores — mineral spirits with 5 min contact time.
What Cure State Is the Egg Stain?
The time elapsed since egg contact determines the protein state and the correct removal approach. Identify the cure state before selecting the method.
Wet, translucent, slightly viscous. Egg white areas appear clear; yolk areas are visibly yellow and fluid.
Protein state:Undenatured — fully soluble in cold water.
Surface impact:On sealed finishes, it sits on the surface. On bare wood, yolk lipids begin absorbing into pores within minutes.
Surface skin formed (rubbery/leathery). Edges are dry; center remains fluid.
Protein state:Surface partially denatured. Cold water can soften the surface layer in 2–3 minutes.
Approach:Use a cold damp cloth for 3–5 minutes to rehydrate the skin before scraping to prevent driving protein deeper.
Hard, brittle, shiny film on finishes. Appears as a dull yellowish crust embedded in the grain on bare wood.
Protein state:Fully denatured cross-linked network. Cold water alone cannot dissolve this state.
Enzyme Requirement:Requires protease (biological detergent) to cleave albumin peptide bonds at room temperature.
Hard, powdery, or flaking crust. Yolk lipids may have oxidized to a brown-amber color with a rancid odor.
Protein state:Heavily cross-linked and partially oxidized.
Mechanical removal:Dry scrape at 10–20 degrees first. Adding liquid to heavy crusts can drive solubilized protein deeper into the grain.
What Are the Key Specifications for Removing Egg Stains from Wood?
| Method | Attribute | Value |
|---|---|---|
| Water temperature — all steps | Required temperature | Cold — under 20°C. Room temperature water (20–22°C) is acceptable. Never above 30°C. |
| Warm water (above 40°C) | Effect on egg protein | Initiates thermal denaturation — permanently bonds albumin to wood fibres. Converts a removable protein stain to a permanent one. Never use on egg stains. |
| Dish detergent (non-biological) | Mechanism | Surfactant — dissolves fresh undenatured protein by reducing surface tension. Effective on fresh egg (under 30 min). Not effective on fully dried, denatured egg. |
| Biological detergent (enzyme-based) | Mechanism | Contains protease enzyme that cleaves albumin peptide bonds at room temperature. Correct treatment for dried egg (over 4 hours). Any “biological” or “with enzymes” laundry detergent at 1 tsp per 200 ml cold water. |
| Biological detergent | Contact time | 10–15 minutes under a damp cloth to prevent evaporation. 15–20 minutes for old, heavily dried egg. |
| Mineral spirits | When required | Mandatory for egg yolk on bare wood — lipid component (33% fat) is not water-soluble. Apply after protein treatment. 5 minutes contact time, wipe in grain direction. |
| Mineral spirits on sealed finish | Safety | Safe on polyurethane and varnish at brief contact times. Not safe on shellac or lacquer — use diluted dish soap only and dry immediately. |
| Scraper angle | Correct angle | 10–20 degrees — plastic card or plastic scraper only. Metal scraper risks scratching finish surface. |
| Vinegar on egg stains | Effectiveness | Mild acidic action (pH 2.5) has no specific mechanism for protein dissolution. Acetic acid does not break peptide bonds or denature protein in reverse. Vinegar is not the correct treatment for egg stains on wood. |
| Baking soda paste on egg | Effectiveness | Mild abrasive. Removes surface residue mechanically on sealed finishes but can scratch polyurethane and lacquer. No chemical mechanism for protein dissolution. Not the recommended approach. |
| Old yolk oxidation stain | Treatment | Oxalic acid 60 g per litre, 10–15 minutes on bare wood after protein and lipid removal. Only if amber-brown oxidation discolouration persists. |
| Drying time before refinishing | After mineral spirits | 24 hours minimum before sanding or applying any finish |
| Sanding after treatment | When needed | 120 grit on bare wood if egg protein has penetrated grain — removes stained fibre layer. Not needed on sealed finishes. |
Why Must Egg Stain Treatment Always Use Cold Water?
Egg albumin — the protein in egg white that constitutes the majority of egg stain material — is a globular protein in its native (undenatured) state. In this state it is soluble in water and can be removed with cold water and a mild surfactant. When heated above approximately 62°C, the protein undergoes thermal denaturation: the globular structure unfolds and the exposed hydrophobic amino acid chains form cross-links with other denatured protein molecules and with the wood cellulose fibres. This produces a rigid, insoluble protein network bonded to the wood — chemically identical to a cooked egg white.
This denaturation is irreversible. Once albumin has been thermally denatured into the wood grain, cold water cannot reverse the cross-linking. The options that remain are: enzyme treatment (protease cleaves the peptide bonds of the denatured protein), mechanical abrasion (sanding through the stained wood layer), or acceptance of a permanent stain. Hot tap water in domestic settings is typically 50–60°C — at the threshold of or above the albumin denaturation temperature. A “warm” cloth or a warm water rinse is sufficient to permanently set a removable egg stain.
How Do You Remove Fresh Egg from Wood?
Fresh egg — contact under 30 minutes — is the easiest scenario. The protein is undenatured and soluble. The objective is to remove as much bulk as possible mechanically before applying any liquid, then dissolve the residue with cold detergent solution.
STEP 1 Remove bulk with plastic card — no wiping
Hold a plastic card (credit card, loyalty card, or plastic scraper) at 10–20 degrees to the wood surface and shear the egg bulk away from the surface in a single pass from the edge inward. Do not wipe laterally — lateral wiping spreads egg into a larger area of the grain. The plastic card lifts the bulk without scratching the finish. On bare wood, work slowly to avoid pressing the egg into open pores.
STEP 2 Apply cold water with 2–3 drops diluted dish detergent
Add 2–3 drops of standard dish detergent (not biological — biological is for dried egg) to 200 ml cold water. Dampen a white cotton cloth and blot the stained area — do not wipe or scrub. The surfactant in dish detergent emulsifies the egg protein and allows it to lift from the surface. Allow 2–3 minutes contact. For egg white on a sealed finish, a single application is typically sufficient. On bare wood, a second application may be needed as the protein in the grain requires more surfactant contact.
STEP 3 Wipe clean — dry immediately
Wipe the area with a fresh damp cloth in the grain direction. Dry immediately with a dry cloth — do not allow water to sit on wood. Inspect in raking light for any remaining residue. If a slight cloudiness or film remains, apply one more pass of cold detergent solution.
STEP 4 Mineral spirits for yolk component (if yolk was present)
If the egg included yolk — any yellow or amber residue visible after the detergent step — apply mineral spirits with a clean cloth to remove the lipid component. Wipe in the grain direction. On sealed finishes (polyurethane, varnish), a single mineral spirits wipe is sufficient and safe. On shellac or lacquer: use diluted dish soap only and dry immediately — mineral spirits may affect these finishes. On bare wood: allow 5 minutes mineral spirits contact, wipe clean, allow 24 hours before any refinishing.
📝 The most instructive egg stain scenario in my workshop was a client’s oak dining table where the children’s breakfast egg had been wiped with a warm damp cloth — which is the instinctive response — approximately 20 minutes after contact. The warm cloth had set the egg white into the polyurethane finish surface as a cloudy white film that scrubbing with warm water made progressively worse. Cold biological detergent applied at 15 minutes contact resolved the residue completely; the warm-water-treated area required a second application and light 0000 steel wool with paste wax to restore the finish clarity.
How Do You Remove Dried Egg from Wood Using Biological Detergent?
Dried egg — contact over 4 hours — has undergone partial or complete thermal denaturation from ambient air temperature and has formed a cross-linked protein network. Cold water alone cannot dissolve this network. Biological (enzyme) detergent is the correct primary agent for dried egg on wood.
STEP 1 Rehydrate with cold damp cloth — 5–10 minutes
Place a cold damp cloth over the dried egg area and hold for 5–10 minutes. This rehydrates the surface of the dried protein crust, softening it enough for the next mechanical and enzymatic steps. Do not apply warm or hot water at any point. The cold rehydration softens the surface layer but does not dissolve the cross-linked protein below.
STEP 2 Scrape rehydrated crust gently
After 5–10 minutes of cold cloth contact, use a plastic scraper at 10–20 degrees to lift the softened surface layer. Work from the edge of the stain inward. Do not force the scraper into the grain — the objective is to reduce the thickness of the protein deposit before enzyme treatment, not to abrade the wood surface. Remove the lifted material with a dry cloth.
STEP 3 Apply biological detergent solution — 10–15 minutes
Dissolve 1 teaspoon of biological laundry detergent (any product labelled “biological” or “with enzymes” — Persil Bio, Ariel Bio, or any equivalent — the protease content is the key) in 200 ml cold water. Apply to the stained area with a brush or cloth, ensuring the area is visibly wet. Cover with a damp cloth to prevent evaporation and allow 10–15 minutes contact time. The protease enzyme cleaves the denatured albumin into water-soluble peptide fragments at room temperature. After 10–15 minutes, the residue should appear softened and loosened from the surface.
STEP 4 Wipe clean — second application if needed
Wipe the enzyme-treated area with a fresh damp cloth in the grain direction. Dry immediately. Inspect — if protein residue is still visible in the grain on bare wood, apply a second biological detergent treatment for 15–20 minutes. A second application is more effective than extending the first because the first application’s enzyme products (small peptide fragments) must be removed before fresh enzyme has clear access to the remaining protein network.
STEP 5 Mineral spirits for yolk component — then 24 hours drying
If yolk was present: apply mineral spirits as in the fresh egg protocol after the enzyme treatment and drying. On bare wood, the lipid component of egg yolk absorbs into the grain rapidly — on older stains the lipid may have oxidised to a yellow-amber colour. Mineral spirits removes fresh to moderately aged lipid residue. For oxidised lipid staining over 1–2 weeks old on bare oak, walnut, or other high-tannin species, oxalic acid at 60 g per litre for 10–15 minutes addresses the oxidative discolouration after the lipid removal step.
How Does the Wood Surface Type Affect Egg Stain Removal?
| Surface Type | Fresh Egg | Dried Egg | Key Constraint |
|---|---|---|---|
| Polyurethane-finished furniture | Plastic scrape + cold detergent. Egg sits on sealed surface — minimal penetration. Single application typically sufficient. | Cold rehydration + biological detergent 10 min. Scrape. Wipe clean. | Mineral spirits safe for yolk lipid. No sanding needed on intact finish. Inspect for finish scratches from old dried egg after removal. |
| Lacquer or shellac-finished furniture | Plastic scrape + cold diluted dish soap only. Mineral spirits not safe on these finishes for yolk. | Cold rehydration + biological detergent 10 min. Diluted dish soap for final wipe — no mineral spirits. | Mineral spirits and most organic solvents affect lacquer and shellac. Use dish soap only for all steps. Yolk lipid on lacquer: use only foamy dish soap suds (foam only, minimal water). |
| Oil-finished wood (Danish oil, linseed) | Plastic scrape + cold detergent. Oil finish is semi-porous — yolk absorbs faster. | Cold rehydration + biological detergent 15 min. Mineral spirits for yolk. | Re-oil after treatment — detergent depletes surface oil layer. |
| Bare / unfinished wood | Act immediately — yolk lipid absorbs into pores within 5 minutes. Scrape then cold detergent + immediate mineral spirits for yolk. | Mechanical scrape of crust first. Biological detergent 15–20 min. Mineral spirits for yolk. Sand 120 grit if protein penetrated grain. 24h drying before refinishing. | Most demanding scenario — both protein and lipid penetrate open grain. Old yolk may require oxalic acid for oxidative discolouration. Always sand bare wood after removal before refinishing. |
| Wax-finished furniture | Scrape + cold detergent. Wax provides some barrier against penetration. | Cold rehydration + biological detergent. Mineral spirits also removes wax — re-apply paste wax after treatment. | Mineral spirits dissolves wax finish during yolk treatment — factor in re-waxing after. |
| Outdoor / bare timber | Act immediately — rain and outdoor conditions accelerate protein cross-linking through drying and UV exposure. | Pressure wash with cold water first to remove bulk. Biological detergent applied with a brush, 15–20 min. Mineral spirits for yolk if applicable. | Old egg on exterior wood (from vandalism or wildlife) may have been UV-exposed — protein cross-linking is more severe. May require sanding after treatment. |
📝 The most challenging egg yolk scenario I have encountered was an outdoor pine workbench where egg yolk from a workshop lunch had been left for approximately three days in warm summer conditions. The protein was fully denatured and the lipid fraction had begun oxidising to a amber-brown discolouration in the open pine grain. Cold rehydration and biological detergent at 20 minutes resolved the protein component. Mineral spirits removed the majority of the lipid residue. A light oxalic acid treatment at 60g/litre for 10 minutes addressed the remaining oxidative amber discolouration — confirming that aged yolk lipid oxidation on pine produces the same type of discolouration mechanism as other organic oxidative stains in the cluster.
Frequently Asked Questions About Removing Egg Stains from Wood
Can you use warm water to remove egg stains from wood?
No — warm water is the most common mistake when treating egg stains on wood. Egg albumin protein coagulates and cross-links permanently at temperatures above 62°C, which is within the range of warm domestic tap water (typically 45–60°C).
Applying warm or hot water to a fresh egg stain on wood completes the same thermal denaturation process that cooking an egg does — it converts a water-soluble protein into a permanently bonded, insoluble residue.
Cold water keeps the egg protein soluble and removable. All stages of egg stain removal from wood — initial rinse, detergent solution, and final wipe — must use cold or room-temperature water.
What is the difference between treating egg white and egg yolk on wood?
Egg white is approximately 90% protein (albumin) with minimal fat content — it is treated entirely with cold water and detergent, either dish soap for fresh egg or biological enzyme detergent for dried egg.
Egg yolk contains approximately 33% fat (lecithin, triglycerides, cholesterol) alongside protein. The protein fraction of yolk is treated identically to egg white with cold water and detergent. The fat fraction is not water-soluble and is not addressed by detergent — it remains in the wood grain as a yellow greasy residue that oxidises over days to a permanent amber-brown stain.
Mineral spirits removes the fat fraction in a secondary step after the protein treatment. Both steps are required for complete yolk removal on bare wood.
Why does biological detergent work on dried egg but regular detergent does not?
Regular (non-biological) dish detergent works by surfactant action — it reduces the surface tension of water to dissolve and lift undenatured (fresh) egg protein. It has no mechanism for breaking the peptide bonds in fully denatured, cross-linked egg protein.
Biological detergent contains protease — an enzyme that catalyses the hydrolysis of peptide bonds in protein chains at room temperature, breaking the cross-linked denatured albumin into small water-soluble peptide fragments. This enzyme action works specifically on dried, denatured protein and is why biological laundry detergents are effective on blood, milk, and egg stains that regular detergents cannot remove.
Does vinegar remove egg stains from wood?
Vinegar (acetic acid, pH 2.5) is frequently recommended for egg stains in general cleaning guides. On wood specifically, vinegar has no chemical mechanism for egg protein removal: acetic acid does not cleave protein peptide bonds, does not reverse thermal denaturation, and does not dissolve lipids.
It has mild acidic cleaning properties for mineral deposits and surface soils, but egg protein is neither a mineral deposit nor a surface soil — it is a cross-linked organic polymer bonded to wood fibres. Cold water with dish detergent (for fresh egg) or biological enzyme detergent (for dried egg) are the correct treatments. Vinegar produces no meaningful result on egg stains on wood.
Summary: Key Values for Removing Egg Stains from Wood
Egg stains on wood require cold water throughout — warm or hot water permanently bonds albumin protein to wood fibres by completing thermal denaturation, converting a removable stain to a permanent one. Fresh egg (under 30 minutes) dissolves with plastic scraper mechanical removal followed by cold dish detergent solution in 2–5 minutes.
Dried egg (over 4 hours) requires biological (enzyme) detergent containing protease at room temperature for 10–15 minutes to break down denatured protein — standard dish detergent has no mechanism for dried egg.
Egg yolk requires a mandatory secondary step of mineral spirits to remove the lipid (fat) component after protein treatment — 33% of yolk is fat that cold water and detergent do not dissolve, and which oxidises to permanent discolouration on bare wood within days. Old oxidised yolk on high-tannin bare wood may require oxalic acid at 60 g per litre after lipid removal. Vinegar has no protein dissolution mechanism and is not the correct treatment for egg stains on wood.
→ Related: How to Remove Grease from Wood (same mineral spirits lipid removal protocol)→ Related: How to Remove Rust Stains from Wood (same oxalic acid protocol for oxidative staining)→ Hub: How to Remove Stains from Wood — Complete Guide