Glue Leather to Wood: The Ultimate Guide You Need to See!
Today, I’m going to show you methods of adhering leather to wood—a skill that marries rugged beauty with natural elegance.
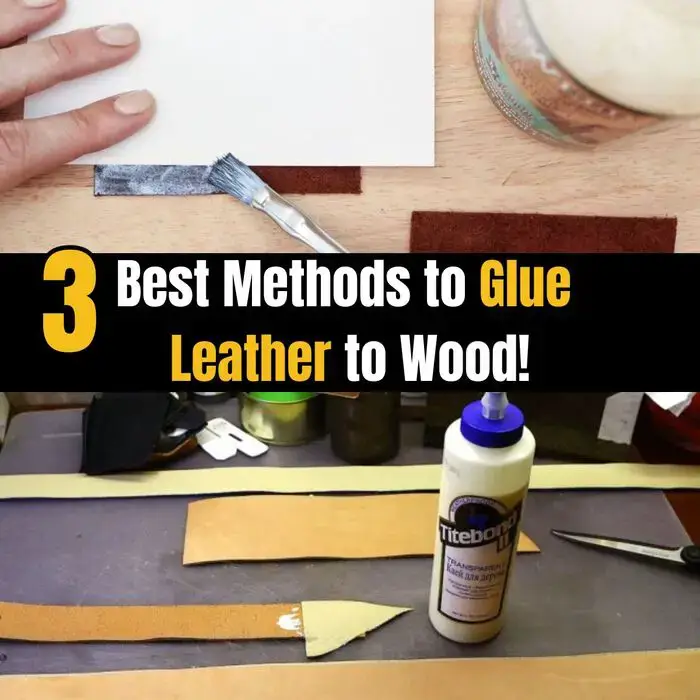
To glue leather to wood, first, select the right adhesive—contact cement is a popular choice and sand the wood lightly. Apply an even layer to both the leather and wood surfaces. Let it dry until tacky, then press firmly together. Ensure a clean workspace to avoid unwanted residue, and use a roller for a strong, smooth bond.
Method #1. Glue Vegetable-Tanned Leather to Wood Using Contact Cement
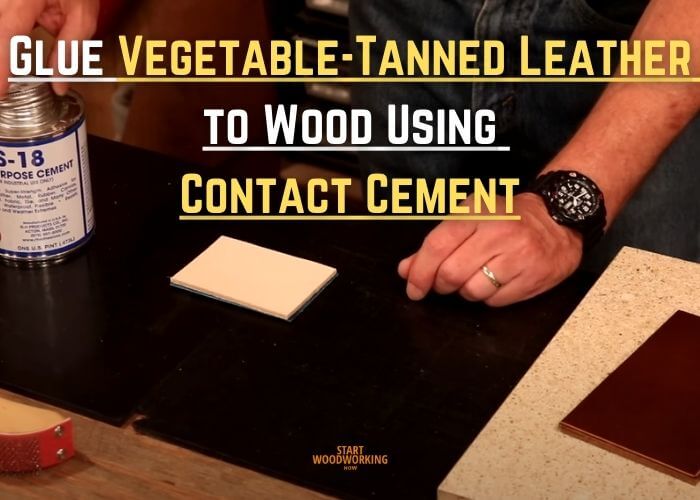
Things You’ll Need:
- Medium-grit sandpaper (for preparing the wood surface)
- Fine-grit sandpaper or a leather rougher (for preparing the leather)
- Tack cloth (for cleaning the wood surface after sanding)
- Contact cement (suitable for both wood and leather)
- Brush or spreader (for applying the contact cement)
- Roller or flat, smooth tool (for applying pressure and ensuring good adhesion)
Step 1: Surface Preparation
Before starting, I make sure both the wood and the leather are ready for gluing. I sand the wood surface with a medium-grit sandpaper to create a slightly rough texture, ensuring better glue adhesion. I then clean the surface thoroughly to remove any dust or debris. For the leather, I roughen the back side using a leather rougher or fine-grit sandpaper to improve the contact area for the glue.
Step 2: Apply Contact Cement
In a well-ventilated area, I apply a thin, even layer of contact cement to both the prepared wood and leather surfaces. I use a brush or a spreader for a consistent coat, ensuring no areas are left uncovered. Once applied, I wait for the cement to become tacky, which usually takes about 15 minutes, but I always check the manufacturer’s instructions for specific drying times.
Step 3: Glue Leather to Wood
Carefully aligning the leather, I begin to press it onto the wood from one end to avoid trapping air bubbles. I use a roller or a flat, smooth tool to apply even pressure across the leather, ensuring full contact with the wood and strengthening the bond. Once fully adhered, I examine the edges and trim any excess leather for a clean finish.
Step 4: Curing
After the leather is attached, I leave the piece to cure for the time recommended by the contact cement manufacturer, usually 24 hours, to ensure the strongest bond possible. During this time, it’s important not to disturb the leather or subject the item to stress.
Pros of using Contact Cement:
- Immediate Bond: Contact cement creates an instant bond that doesn’t require clamping. Once the surfaces are pressed together, the bond is strong, which is useful for projects that need to move quickly through production stages.
- High Strength: The adhesive forms a high-strength bond that is durable and long-lasting, making it suitable for a wide range of applications, including furniture and decorative objects.
- Heat Resistance: Contact cement is resistant to heat, which means the bond won’t weaken in high-temperature environments, a beneficial feature for items that may be exposed to varying temperatures.
- Flexibility: Once cured, contact cement maintains flexibility, which complements the natural flexibility of vegetable-tanned leather, ensuring the bond remains intact through bending and movement.
- Ease of Application: Contact cement can be easily applied with a brush or roller and doesn’t require mixing or heating, making it a convenient option for both professional and DIY projects.
Cons of using Contact Cement:
- No Adjustment Time: The instant bond means there is little to no time for adjustments once the two surfaces are joined. This requires precise alignment and application.
- Fumes and Ventilation: Contact cement often contains volatile organic compounds (VOCs) that can be hazardous to breathe. Adequate ventilation and the use of protective equipment are necessary during application.
- Difficulty in Removing Excess: Once contact cement has cured, it can be difficult to remove any excess that has squeezed out or been misapplied, potentially affecting the finish of the project.
Method #2. Glue Chrome-Tanned Leather to Wood Using Polyurethane Adhesive
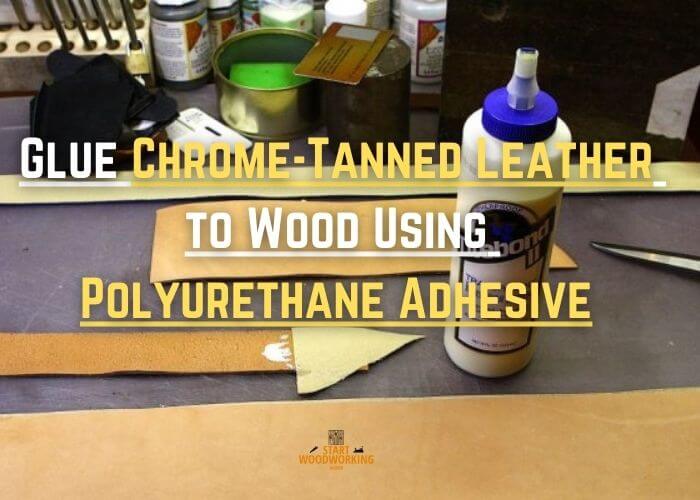
Things You’ll Need:
- Fine-grit sandpaper (for prepping both the wood and leather surfaces)
- Damp cloth (for cleaning the wood surface after sanding)
- Polyurethane adhesive (suitable for bonding leather to wood)
- Brush or spatula (for applying the adhesive)
- Roller or brayer (for smoothing out the leather and ensuring good contact)
- Clamps or weights (to apply pressure while the adhesive cures)
Step 1: Surface Preparation
I begin by preparing both the wood and the chrome-tanned leather to ensure a strong bond. For the wood, I sand the area lightly with fine-grit sandpaper to create a slightly rough texture. This helps the polyurethane adhesive to adhere better.
I then wipe the surface with a damp cloth to remove any sanding dust and let it dry thoroughly. For the leather, I scuff the back side with fine-grit sandpaper to remove any coatings and improve adhesive grip.
Step 2: Adhesive Application
Next, I apply a thin, consistent layer of polyurethane adhesive to both the wood surface and the roughened side of the leather.
I use a brush or spatula for an even spread, taking care not to over-apply as polyurethane glue expands while curing. I follow the manufacturer’s instructions for the open time, which is usually around 10 to 20 minutes of waiting until the adhesive is tacky to the touch before proceeding.
Step 3: Joining and Curing
Carefully, I position the leather onto the wood, starting at one edge and smoothing it down to avoid air pockets. I use a roller or brayer to apply firm pressure across the entire surface.
Once in place, I apply weight or use clamps to maintain even pressure, which is necessary for the polyurethane adhesive to cure properly.
Excess glue that seeps out can be wiped away with a damp cloth. I leave the assembly under pressure as recommended by the glue manufacturer, usually several hours to overnight, to ensure a complete and durable bond.
Step 4: Clean Up Excess Adhesive
Polyurethane glue can be messy and may squeeze out from the edges when pressure is applied.
Pros of using Polyurethane Adhesive:
- Strong Bond: Polyurethane adhesives create a very strong bond between leather and wood, which is highly durable and suitable for many applications, including furniture and decorative items.
- Water Resistance: Polyurethane glue is known for its excellent water-resistant properties, making it a good choice for items that may be exposed to moisture or used outdoors.
- Flexibility: Once cured, polyurethane adhesive remains flexible, which is beneficial when gluing leather, a material that may flex or stretch with use.
- Gap Filling: Polyurethane glue expands as it cures, which allows it to fill gaps between the leather and wood, ensuring a secure bond even if the surfaces are not perfectly flat.
Cons of using Polyurethane Adhesive:
- Curing Time: Polyurethane glue typically has a longer curing time compared to other adhesives, which can slow down the workflow or extend project timelines.
- Foaming: As it cures, polyurethane adhesive can foam and expand out of the joint, requiring cleanup and potentially affecting the finished look if not managed properly.
- Sensitivity to Moisture: While the cured adhesive is water-resistant, the curing process itself is moisture-activated. This means that the presence of moisture is necessary for the glue to set properly, which can complicate the gluing process in dry environments.
Method #3. Glue Rawhide Leather to Wood Using Hide Glue
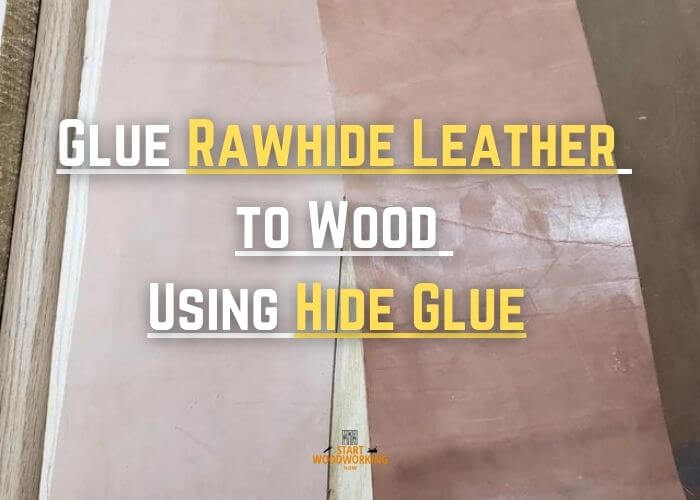
Things You’ll Need:
- Fine-grit sandpaper
- Clean cloth
- Hide glue (granules or pearls)
- Water (for soaking and mixing with the hide glue)
- Double boiler or glue pot (for heating the hide glue)
- Brush (for applying the hide glue)
- Clamps or veneer press (for applying pressure)
Step 1: Prepare the Hide Glue
I start by preparing the hide glue, which typically comes in granules or pearls that need to be mixed with water and heated. I soak the glue in water for several hours or overnight, allowing the granules to absorb water and swell.
This soaking ratio is usually 1 part glue to 2 parts water, but I always check the manufacturer’s instructions. After soaking, I gently heat the mixture in a double boiler or a glue pot to around 140-150 degrees Fahrenheit (60-65 degrees Celsius). I avoid boiling, as it can degrade the glue’s strength.
Step 2: Prepare the Surfaces
While the glue is heating, I prepare the wood and the rawhide leather. The wood surface should be clean and free from oils or finishes. If necessary, I lightly sand the area with fine-grit sandpaper and then clean off the dust.
For the rawhide, I ensure it is flat and free from dirt. If the rawhide is stiff, I may dampen it slightly to make it more pliable, but not so much that it’s wet, as this could affect the glue’s adhesion.
Step 3: Apply the Hide Glue
Once the glue is ready and the surfaces are prepared, I apply the warm hide glue to the wood surface using a brush. I work quickly, as hide glue gels as it cool. I make sure to spread a consistent layer over the entire area where the rawhide will be attached.
Step 4: Attach the Rawhide
Immediately after applying the glue, I place the rawhide onto the glued surface. I start from one edge and carefully smooth it out towards the other edges, making sure to eliminate any air bubbles and ensuring good contact with the glue. Hide glue grabs quickly, so I need to work with precision and speed.
Step 5: Clamp or Press the Rawhide
To ensure a solid bond, I use a veneer press or clamps to apply even pressure across the rawhide. If those aren’t available, I place a flat, heavy object on top.
Pros of using Hide Glue:
- Reversibility: One of the biggest advantages of hide glue is that it can be reversed or reactivated with heat and moisture. This allows for the disassembly of joints or the removal of leather without damaging the wood, which is particularly valuable in restoration work or when adjustments are needed.
- Tackiness: Hide glue offers excellent initial tack, which helps to keep the rawhide in place as you work, reducing the need for extensive clamping and allowing for quicker handling of the piece.
Cons of using Hide Glue:
- Application Time: Hide glue gels as it cools, which means you have a limited open time to apply the glue and position the rawhide. This requires you to work quickly and efficiently.
- Temperature Sensitivity: Since hide glue must be heated for use, maintaining the proper temperature is crucial. It cannot be used in environments that are too cold, as it will gel too quickly.
- Moisture Sensitivity: Hide glue can be weakened by humidity and moisture exposure. In environments where this is a concern, the bond may not hold up over time.
Proper surface preparation is crucial for a strong bond. For wood, lightly sand the area where the leather will be attached to remove any finish or rough spots, which helps the glue adhere better. Clean the surface with a damp cloth to remove dust and let it dry completely. For the leather, if it has a glossy finish, lightly scuff the backside with sandpaper to create texture for the glue to grip. Ensure both surfaces are clean, dry, and free from oils or dirt before applying the adhesive.
To ensure a smooth finish, apply a thin, even layer of glue to both the leather and the wood surface. Wait for the glue to become tacky as per the manufacturer’s instructions. Carefully align the leather onto the wood, starting from one edge and gently smoothing it down to avoid air bubbles. Use a roller or a flat tool to firmly press the leather onto the wood and eliminate any wrinkles or bubbles. Allow the glue to cure for the recommended time before using the item to ensure the best adhesion.
The setting time for glue can vary depending on the type of adhesive used and environmental conditions like humidity and temperature. Generally, contact cement takes about 15-20 minutes to become tacky before you can attach the leather to wood, and it may require 24 hours to fully cure. To speed up the process, ensure that the room is well-ventilated and at a moderate temperature. Avoid using heat sources to speed up drying, as this can weaken the bond. Always refer to the manufacturer’s instructions for the best results.

