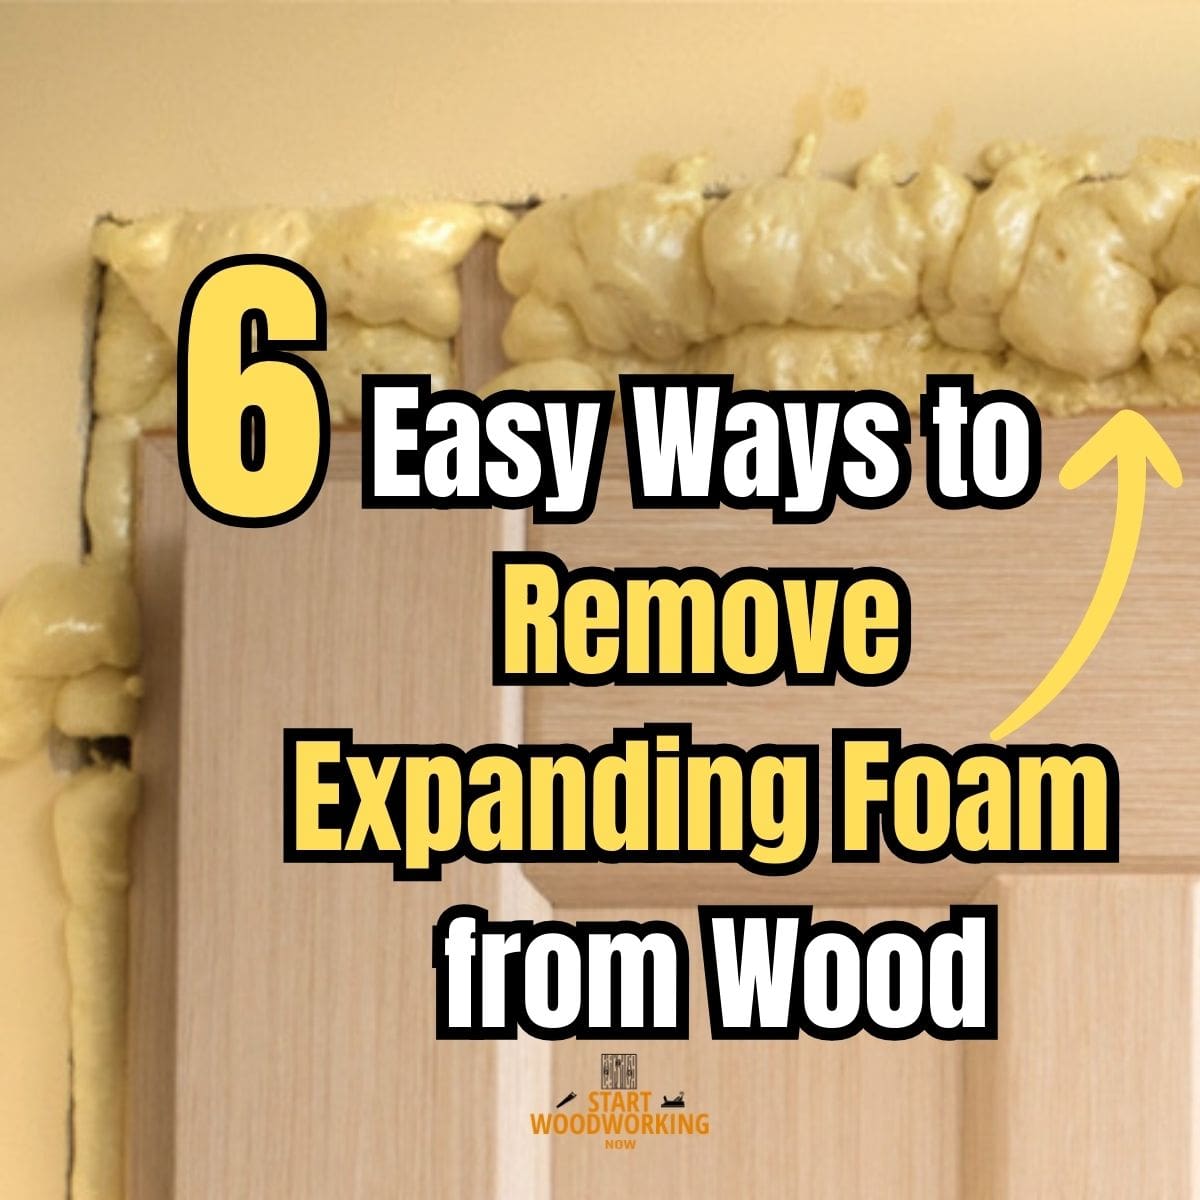
How to Remove Expanding Foam from Wood: Timing, Mechanical Removal, and Residue Treatment Guide
Expanding foam — polyurethane foam sealant (PU foam) — is moisture-activated polyurethane that cures by reacting with ambient humidity. The single most important factor in successful removal from wood is timing: fully cured foam (24 hours at room temperature) is rigid and brittle, fractures cleanly off wood surfaces with a chisel, and represents the easiest removal scenario. Partially cured foam (1–24 hours) is rubbery and tears rather than fracturing — it smears across the wood surface and embeds in finish textures, creating a far more difficult removal problem than fully cured foam. Fresh uncured foam (under 60 minutes) expands further when disturbed and should not be touched. The counterintuitive rule of polyurethane foam removal is: wait for complete cure before attempting any removal.
This guide covers the three cure state windows, the correct mechanical and solvent protocol for each, the difference between high-expansion and low-expansion foam that determines how much volume you are dealing with, and the finish-safe residue treatment after bulk removal.
How Do You Remove Expanding Foam from Wood?
→ Related (same polyurethane chemistry): How to Remove Gorilla Glue from Wood → Hub: How to Remove Wood Finishes and Stains
What Is the Cure State of the Foam — and What Should You Do?
The cure state of the foam determines the correct action. Working at the wrong cure state either spreads the foam further or produces incomplete removal. Identify the state before touching the foam.
Wet, Sticky & Actively Expanding
- Appearance: Surface sheen visible; volume is still growing.
- Tactile: Extremely tacky. Contact spreads resin deep into wood pores.
- Risk: Moisture (wet cloths) accelerates expansion.
Unless minimal (Isopropyl blot only)
Surface Skin with Soft Core
- Appearance: Rubbery texture; no longer expanding.
- Difficulty: Hardest removal state. Foam tears into threads and smears.
- Urgent Action: Saw with serrated blade at surface level. Do not scrape.
Allow full 24h cure to prevent smearing
Hard, Rigid & Brittle
- Appearance: Honeycomb texture; completely inert and tan/cream colored.
- Difficulty: Easiest removal state. Foam fractures cleanly from the surface.
- Tools: Chisel at 10–15° angle + Acetone for residual film.
Mechanical removal is now safe
Does the Type of Expanding Foam Affect Removal?
Two main categories of expanding foam are used in construction and DIY, and they differ significantly in expansion volume — which determines how much foam you are dealing with after full cure.
High-expansion foam (standard / gaps and cracks)
Expands 2–3× the applied volume. Used for filling large gaps, insulation, and blocking. A small bead becomes a substantial deposit. Common brands: Hilti CF, Soudafoam, Great Stuff (gaps and cracks). Most accidental wood surface contamination scenarios involve this type. After full cure: large, rigid foam deposit requiring significant chiseling. Acetone has limited effect on thick deposits — mechanical removal is primary.
Low-expansion / window and door foam
Expands 10–30% above applied volume. Specifically formulated for frames and reveals where high expansion would warp the frame. Common brands: Great Stuff Doors and Windows, Soudafoam Window. After full cure: smaller, denser deposit than high-expansion. Same removal method — chisel and acetone — but less volume to remove. The denser structure can be slightly harder to chip than high-expansion foam.
What Are the Key Specifications for Removing Expanding Foam from Wood?
| Method | Attribute | Value |
|---|---|---|
| Full cure time before removal (all foam types) | Minimum wait time | 24 hours at 20°C and 50% RH; 48 hours in cold or dry conditions (<15°C or <35% RH) |
| Uncured foam — emergency blot | Solvent | Isopropyl alcohol 70%+ on dry cloth; do not use water — accelerates curing |
| Chisel angle (fully cured foam) | Angle to wood surface | 10–15 degrees — nearly flat; fractures foam at base without gouging wood |
| Serrated saw (partially cured / urgency) | Method | Cut at foam surface level — do not press down or scrape; shearing motion only |
| Acetone (thin residual base layer) | Contact time on polyurethane finish | 30 seconds per application; 3–6 applications for thin residual; no extended contact |
| Acetone (thin residual on bare wood) | Contact time | 2–5 minutes; effective on thin residual base after mechanical removal |
| Acetone on lacquer / shellac | Safe use | NOT safe — dissolves both finishes. Use isopropyl 90–99% on these finishes for residue. |
| Acetone on thick cured foam (bulk) | Effectiveness | Limited — only softens surface layer; insufficient for bulk removal. Mechanical first. |
| Sanding (bare wood after chiseling) | Starting grit | 80–100 grit for residual polyurethane film; 120–180 grit final pass |
| Heat gun (not recommended for foam) | Use case | Not effective — cured polyurethane foam does not re-melt at accessible temperatures. Mechanical only. |
| Vegetable oil / Murphy’s Oil Soap | Effectiveness on cured foam | Zero — no chemical mechanism for dissolving cured polyurethane polymer |
| Tool choice on finished wood | Correct tool | Rigid plastic scraper or old wide-blade chisel; not sharp chisel (too aggressive on finish) |
Why Do Vegetable Oil, WD-40, and Murphy’s Oil Soap Fail on Expanding Foam?
Fully cured expanding foam is a rigid, cross-linked polyurethane polymer — the same chemical family as polyurethane varnish on wood. It is chemically resistant to oils, surfactants, and dilute solvents. This is one of its desirable properties as an insulation and sealant material.
Vegetable oil and cooking oils are triglycerides — non-polar compounds that have no solvent chemistry for polyurethane polymers. They create a slight lubricating effect at the foam-to-surface interface that can assist mechanical scraping of soft or rubbery foam, but they do not dissolve or soften the cured polymer network. Any improvement seen with oil is from mechanical lubrication, not chemical dissolution.
WD-40 contains light petroleum distillates and mineral spirits, which partially dissolve the surface layer of the foam over extended contact — giving it slightly more effect than vegetable oil. For thin, residual foam films, WD-40 at 10–15 minutes contact can soften the surface enough to assist scraping. For bulk cured foam deposits, it is insufficient and leaves an oily residue requiring cleaning before refinishing.
Murphy’s Oil Soap is a wood-safe cleaning detergent — it has no solvent chemistry for polyurethane and has zero effect on cured expanding foam. It is the correct product for cleaning and maintaining finished wood surfaces, not for removing polyurethane foam.
The correct approach is mechanical first — chisel at 10–15 degrees for fully cured foam — followed by acetone for the thin residual base layer. Acetone partially dissolves the surface of thin cured polyurethane deposits and is the most effective household solvent for this application, though it cannot dissolve thick bulk foam.
How Do You Remove Fully Cured Expanding Foam from Wood?
Fully cured expanding foam (24+ hours) is the correct removal state. The rigid, brittle polyurethane fractures cleanly from wood surfaces when a chisel or scraper is driven at the correct angle. This produces much better results than attempting removal at the rubbery partially-cured state, which tears, smears, and embeds foam into the wood surface.
STEP 1 – Allow 24 hours minimum before attempting removal
If the foam was applied or spilled within the last 24 hours, wait. Fully cured foam at 24 hours is always easier to remove than partially cured foam at 4 hours — the rigid structure fractures cleanly, while the rubbery intermediate state tears and creates more surface contamination. In cold or dry conditions (under 15°C or under 35% relative humidity), the cure time extends to 48 hours before the foam reaches its full brittleness.
STEP 2 – Score the perimeter with a utility knife
Use a sharp utility knife to score around the base perimeter of the foam deposit — cutting through the adhesion zone where the foam contacts the wood surface. This scoring separates the foam from the wood at the base before mechanical force is applied, reducing the force required to chip the bulk and decreasing the risk of the chisel slipping onto the finish surface.
On finished wood, make the score cut at the foam edge rather than against the wood — the goal is to separate the foam, not to cut into the finish.
STEP 3 – Chisel bulk foam at 10–15 degree angle from the edge inward
Hold a wide-blade wood chisel or rigid plastic scraper at 10–15 degrees to the wood surface — as nearly flat as possible. Drive the chisel under the scored foam edge with controlled, short strokes. The brittle cured foam fractures and detaches in pieces. Work progressively from the perimeter toward the centre of the deposit. On finished furniture, use an old chisel with a smoothed bevel edge or a rigid plastic scraper — a sharp new chisel will cut through polyurethane or lacquer finish if the angle varies even slightly.
On large foam deposits from high-expansion foam in construction applications, a pull saw or flush-cut handsaw can shear the foam at surface level before chiseling the remaining thin base layer — this reduces chiseling work on large deposits.
STEP 4 – Acetone for the thin residual base layer
After mechanical removal of the bulk foam, a thin adhesion layer of cured polyurethane typically remains bonded to the wood or finish surface. Acetone partially dissolves this thin layer — it is not effective on thick deposits but works well at the 0.1–1 mm residual thickness after bulk chiseling.
Apply acetone to a white cotton cloth and press onto the residual foam for 30 seconds on polyurethane-finished wood (maximum contact). Wipe away softened residue. Repeat 3–5 times. On bare wood, extend acetone contact to 2–3 minutes per application.
Acetone on lacquer and shellac finishes: Acetone dissolves lacquer and shellac immediately on contact. On these finishes, use isopropyl alcohol 90–99% at 20–30 second maximum contact per application for residual foam removal — less effective than acetone but preserves the finish. Some local refinishing may be required if foam adhesion removed finish alongside the foam during chiseling.
STEP 5 – Sand residual staining on bare wood
On bare, unfinished, or oiled wood where polyurethane residue has bonded into the grain surface, sand with 80–100 grit after acetone treatment, then progress to 120 and 180 grit before applying the new finish. Polyurethane residue prevents even finish absorption — any foam residue remaining in the grain will show as a shiny spot under the new finish coat.
What If the Foam Must Be Removed Before Full Cure?
The ideal approach is always to wait for full cure. If the foam position prevents functional use of the wood surface or structure and removal is urgent before 24 hours, the partially-cured state requires a different technique — not scraping or chiseling, which tears and smears the rubbery material.
Use a serrated knife or bread knife to cut through the foam with a shearing motion at the level of the wood surface — do not press the knife blade down onto the wood. The serrated edge grips the rubbery foam and shears through it without requiring downward pressure. Cut the bulk of the foam away by shearing at surface level, leaving a 2–3 mm layer still in contact with the wood. Allow this remaining thin layer to complete curing over the following hours, then treat as fully cured with acetone for residual.
Do not attempt to scrape or wipe rubbery partially-cured foam — this tears it into threads that embed in wood finish textures and open grain, producing a result significantly harder to resolve than simply waiting for full cure.
What If Foam Has Just Made Contact with the Wood Surface?
Fresh uncured foam within the first 30–60 minutes can sometimes be partially removed before significant expansion occurs. If the foam deposit is small and was just applied or spilled:
Press a dry cloth onto the fresh foam and lift straight up — do not wipe laterally, which spreads the expanding foam across a larger surface area. Remove as much physical foam as possible with dry blotting. Apply isopropyl alcohol 70%+ on a dry cloth and blot the remaining uncured foam — isopropyl partially dissolves uncured polyurethane before cross-linking is complete. Do not apply water or a damp cloth — moisture is the catalyst for the curing reaction and accelerates expansion.
If the foam deposit is large or has already begun expanding significantly, do not attempt removal. Containment is more effective than removal at this stage: limit the spread by ensuring the foam is not disturbed, allow complete cure, then proceed with mechanical removal. A larger but well-contained cured deposit is easier to remove than a smaller but smeared partially-cured deposit.
📝 The most instructive expanding foam scenario in my workshop was polyurethane foam sealant that had been applied to seal a gap around a window frame in pine, with high-expansion foam accidentally deposited onto the surrounding painted pine trim. The foam had been there for approximately 6 hours when I was called — rubbery and partially cured, tearing into threads when anyone touched it. I stopped the client from continuing to scrape and waited overnight for full cure. The following morning, a simple plastic scraper at 10–15 degrees chipped the entire deposit cleanly in under 15 minutes. The 6-hour version would have taken 3 times as long and likely damaged the painted surface. The most important tool for expanding foam removal is patience.
How Does the Wood Surface Type Affect Expanding Foam Removal?
| Surface Type | Bulk Removal (cured) | Residue Treatment | Key Constraint |
|---|---|---|---|
| Polyurethane-finished furniture | Plastic scraper or smooth-bevel chisel at 10–15°; score perimeter first | Acetone max 30 sec per application × 3–5; paste wax after | Sharp chisel bevel cuts polyurethane finish if angle deviates — use old/smooth chisel |
| Lacquer-finished furniture | Plastic scraper at 10–15°; extremely careful — lacquer chips if chisel deflects | Isopropyl 90–99%, 20–30 sec max — acetone NOT safe on lacquer | Lacquer is the most fragile finish for chiseling — plastic scraper only |
| Shellac-finished antique | Plastic scraper at lowest possible angle; no mechanical force near finish surface | Isopropyl 90% at 15–20 sec max — shellac dissolves in both acetone and alcohol at extended contact | Most vulnerable finish — mechanical removal only; minimal solvent contact |
| Wax finish | Plastic scraper at 10–15°; wax provides slight release between foam and surface | Mineral spirits for residue; re-apply paste wax after | Wax layer may have already released some foam adhesion — check before applying solvent |
| Bare / unfinished wood | Metal chisel at 10–15°; score perimeter; flush-cut saw for large deposits | Acetone 2–3 min contact; sand 80–120–180 grit if polyurethane residue in grain | No finish to protect — use most aggressive method; refinish after |
| Construction timber / framing | Metal chisel, pull saw for large deposits; flush-cut saw at surface level | Acetone or sand 80 grit; no finish concern | High-expansion foam typical — large volume; saw first, chisel residue |
| Veneer | Plastic scraper only — absolute minimum force; score very carefully | Isopropyl 90%; no acetone — risks veneer adhesive delamination | Any excessive mechanical force or solvent penetration may lift veneer from substrate |
| Hardwood floor (sealed) | Plastic scraper at 10–15°; score perimeter; progress to old chisel if needed | Acetone 30 sec max on polyurethane floor finish; floor polish after | Floor finish is often thinner than furniture finish — monitor carefully during chiseling |
Frequently Asked Questions About Removing Expanding Foam from Wood
Is it better to remove expanding foam while it is still wet or after it cures?
After it cures completely — 24 hours minimum at room temperature. Fully cured foam is rigid and brittle, fracturing cleanly from wood surfaces when chiseled at a low angle. Partially cured foam (1–24 hours) is rubbery and tears into threads that embed in wood finish textures, making removal significantly harder and messier than waiting for full cure.
Fresh uncured foam expands when disturbed. The counterintuitive rule of polyurethane foam removal is that patience produces better results than speed — the most common mistake is attempting removal too early.
Can acetone dissolve cured expanding foam completely?
No — acetone partially softens the surface layer of thin cured polyurethane deposits but cannot dissolve bulk cured foam. For residual thin films of 0.1–1 mm remaining after mechanical chiseling, acetone at 30-second applications on polyurethane-finished wood (repeated 3–5 times) is effective.
For bulk deposits, mechanical chiseling at 10–15 degrees is the only practical removal method — no household solvent dissolves cured polyurethane foam completely. Industrial solvents such as DMF and MEK have some effect on cured polyurethane but are not consumer products.
How do you prevent expanding foam from sticking to wood surfaces during application?
Apply painter’s tape (blue masking tape) to all wood surfaces adjacent to the application area before using expanding foam. Expanding foam does not bond permanently to properly masked tape — the cured foam can be peeled away cleanly from the tape surface after full cure. Remove the tape by pulling parallel to the wood surface within 24 hours of foam application — pulling at an angle may lift the tape backing from finished wood. For large areas, cover with plastic sheeting secured at the edges with tape.
What is the difference between removing expanding foam and removing Original Gorilla Glue foam?
Both are moisture-activated polyurethane foams with identical chemistry and identical removal protocols. The practical difference is volume — expanding foam construction sealant is applied in larger quantities and expands more aggressively (2–3× volume) than Gorilla Glue polyurethane adhesive, which is applied as a thin bead.
The bulk mechanical removal (chisel at 10–15 degrees after full cure) and residue treatment (acetone for thin residual layer) are identical for both. The same constraints apply: wait for full cure, never use water on uncured material, and mechanical removal is primary because no household solvent dissolves bulk cured polyurethane.
Summary: Key Values for Removing Expanding Foam from Wood
Removing expanding foam from wood is determined primarily by timing: do not attempt removal before 24 hours of cure time.
Fully cured foam chips cleanly with a chisel at 10–15 degrees after scoring the perimeter with a utility knife.
Partially cured foam (1–24 hours) is rubbery and tears — if removal cannot wait, use a serrated knife with a shearing motion at the foam surface level only and allow the remaining thin layer to complete curing before acetone residue treatment.
Fresh uncured foam should not be disturbed — if minimal, blot with a dry cloth then isopropyl alcohol on a dry cloth; if substantial, wait. Acetone removes the thin residual polyurethane base layer after chiseling at 30 seconds maximum contact per application on polyurethane-finished wood and 2–3 minutes on bare wood. Vegetable oil, Murphy’s Oil Soap, and WD-40 have no effective chemistry for dissolving cured polyurethane foam and produce no meaningful result on bulk cured deposits.
→ Related: How to Remove Gorilla Glue from Wood (same polyurethane chemistry) → Related: How to Remove Dried Glue from Wood → Hub: How to Remove Wood Finishes and Stains — Complete Guide