How to Remove Crayon Marks from Wood [5 Quick Ways]
In this post, we’ll walk through simple, step-by-step methods using ingredients like baking soda, toothpaste, and even mayonnaise to safely lift crayon marks off wood.
- Dip a cloth or paper towel in rubbing alcohol and dab it directly onto the crayon marks on the wood. Make sure to fully saturate the marks.
- Allow the alcohol to sit and penetrate for a few minutes. This gives it time to break down the wax.
- Use the toothbrush or scrub brush to gently scrub the area in circular motions in the direction of the wood. This helps lift the crayon marks from the wood grain.
- Use a clean dry cloth to wipe away any dissolved crayon marks and excess alcohol.
- Rinse the area with clean water on a damp cloth. Dry the wood with a paper towel.
- Check for any remaining stains and repeat the process if needed.
- When wood is fully clean, allow it to dry completely before applying a new finish or sealant.
5 Safe Methods to Eliminate Crayon Marks without Causing Damage
Method 1: Use Magic Eraser
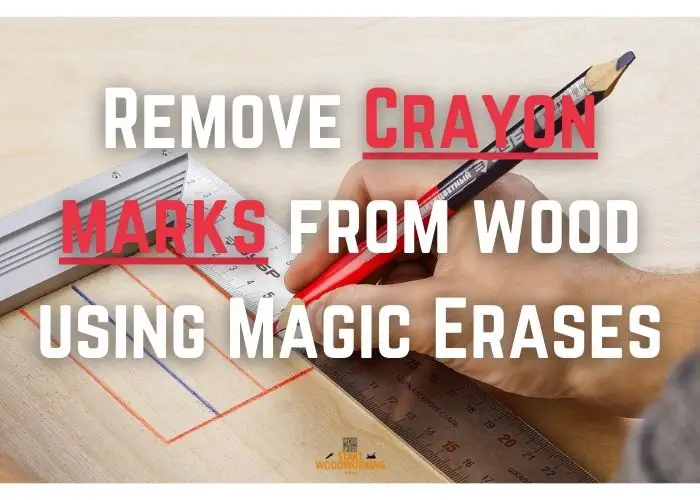
Here are the items you will need to use to remove crayon smudges from wood:
- Magic eraser
- Hot and clean water
Step 1: Soak the magic eraser with warm water
Hot water is the first step. Before turning off the water, allow the gum to soak completely in water.
After it has been completely soaked, turn off the running water, then press the eraser to remove excess water. A magic eraser can be found in the cleaning section of almost any grocery store, including Target or Walmart.
Warm or hot water is recommended to melt the wax from the crayon of your wood.
Step 2: Test the magic eraser on a small wood surface
This eraser would not ruin the finish of your wood. The second step is crucial to prevent this from happening. To determine if Magic Eraser is leaving stains or damage to your wood’s finish, you need to test it. This step may not be necessary if the wood you have is unfinished.
You can test this by gently rubbing the magic eraser on the wood with a little pressure.
You can use the magic eraser to remove crayons from furniture, floors, and walls if your wood finish is undamaged. If the eraser leaves a significant stain on your wood, you may need to use another cleaning method.
Step 3: Remove the crayon stain with a magic eraser
Then rub the crayon stain with an eraser. The eraser should be held to the wood. This is how the wax melts due to the heat of the gum. Keep it there for a few seconds and then start rubbing in circular motions.
Continue in this way until all crayon stains have been removed from your block of wood. The eraser can get stained if there is a lot of it.
It’s best to flip the magic eraser over so you can use the other side. After that, you can either let the wood dry naturally or use a soft, clean cloth to remove any moisture.
Method 2: Use Mayonnaise
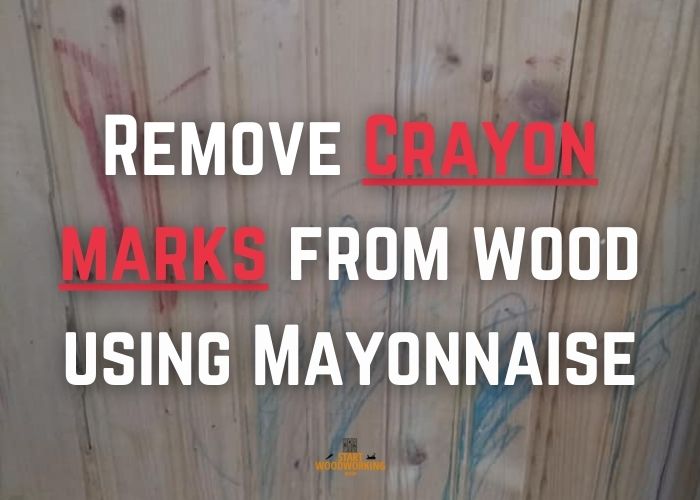
Mayonnaise is the best homemade method for removing crayon stains from wooden surfaces. These are the things you will need for this project.
- Mayonnaise
- Liquid dish soap
- Cleaning cloth
- Butter knife or spoon
Step 1: Gather your supplies. You’ll need a jar of plain mayonnaise, some paper towels or soft cloths, a plastic scraper or old credit card, and some warm soapy water. Make sure the wood surface you’re working on is dry first.
Step 2: Scoop out a generous amount of mayonnaise and apply directly onto the crayon marks on the wood. Spread the mayo out evenly over the entire area of the marks using your finger or a paper towel. Be sure not to scratch the wooden surface.
Step 3: Let the mayonnaise sit and penetrate the crayon for at least 15-30 minutes. This gives the oils in the mayo time to break down the wax and pigments. During this waiting period, reapply mayo to any areas that appear to be drying out.
Step 4: Once the mayo has had time to work, use your plastic scraper or old credit card to gently start removing the mayo and crayon mixture. Scrape at a low angle to avoid damaging the wood. Reapply mayo and scrape again if needed.
Step 5: For any crayon left in wood pores or crevices, dip the corner of a paper towel in mayo and work it back and forth over the stained area. This will lift more crayons to the surface. Scrape again and repeat if necessary.
Step 6: When most of the crayon is removed, wipe the wood surface down with warm soapy water to remove excess oily mayo residue. Dry the surface completely with clean paper towels.
Step 7: If any faint staining remains, go over the area lightly with extra fine steel wool or ultra-fine sandpaper. Then wipe clean and reapply the protective finish if needed.
Method 3: Use A Hair Dryer
Materials for this method:
- Hair dryer
- Baby wipes
- Use a clean cloth
Step 1: Turn on the heat drier
One reliable way to get rid of the crayon marks is to use a hair dryer and a simple dishwashing detergent. There are many hair dryers on the market. A basic dryer is sufficient for most jobs.
You don’t need a dryer with advanced heat settings, so be sure to get one at a reasonable price. Or just use the one you already have in your bathroom.
First, heat the dryer. You will need to connect the dryer to an electrical outlet closer to the wood to remove crayon stains.
Use the lowest heat setting. This is to make sure not to damage the wood. You can use the hair dryer to melt the crayon marks from the wood, then wipe it off.
Step 2: Apply heat to remove the crayon marks
Turn on the hair dryer and blow hot air jets over the traces of the crayon. The wax base of the crayon will become softer, making it easier to erase.
Once your dryer is on, turn it down to the lowest heat setting and place it about 6 inches from the surface of the wood. To remove traces of wax on the wood, reheat it.
Keep doing this in a circular motion. Flip the wipe over if one side is dirty. It is recommended to alternate between using the dryer to melt the wax and wiping off the crayon stains.
Because they contain a gentle cleanser, baby wipes are perfect for the job. You will want to test the cleaning method on a small area of the wood’s surface, as we mentioned.
Step 3: Remove the crayon marks from the wood surface
After you notice that the crayon stains have been removed from the wood surface, you can clean the surface with a cloth. A microfiber cloth is the best choice for this job.
You must pay attention to any traces of crayon still visible when using this cloth. If they don’t come off after wiping them off with the cloth, heat the area again with your dryer.
Repeat these steps until the crayon stain is completely gone from the wood.
Method 4: Baking Soda and Toothpaste
These materials are needed:
- Toothpaste
- Baking soda
- Clean cloth
- Toothbrush
- Warm water in a bowl
Step 1: Prepare the wood surface
White toothpaste is recommended for this purpose. This will ensure that you don’t leave any other stains on the wood. Use a small amount of paste to coat the crayon spots. Make sure the paste reaches all parts of the wood stained by the crayons.
It is recommended to choose a toothpaste whose label indicates teeth whitening. Many toothpastes contain baking soda, which is able to remove crayon stains.
After covering the stain with toothpaste, it is necessary to let it sit for a few minutes before rinsing it off with water. To dry the wood, you can use a towel or let it dry naturally.
Step2: Create a paste of baking soda and toothpaste
To effectively remove these stains, you will need to mix a paste of baking soda and water. Mix a tablespoon of baking powder with a small amount of water in a small dish. Mix the ingredients with a toothbrush until you get a paste-like consistency.
You may need to use vinegar or water depending on the severity of the stain. It is important to test the mixture on a hidden area of the wood after you finish it.
You may need to use other methods presented if somehow the wood starts to get damaged during this step.
Step 3: Clean the crayon marks from wood
After testing the solution on the wood, dip your toothbrush in the solution. Then, scrub the crayon stains with your toothbrush, using light circular motions. Continue doing this until you have covered all the stains with baking soda.
To apply more paste to the stain, first use lukewarm water. Then dip your toothbrush in the solution. This will remove any accumulated stains and ensure the wood block is not stained. You should only use your toothbrush for cleaning. That’s why you don’t want to use your toothbrush for any other purpose.
Method 5: Use WD-40
This product is designed to remove crayon stains from wood furniture, walls, and other surfaces.
Here is what you will need to complete this task:
- WD-40
- Use a clean cloth
If none of that works, test some WD-40 in a hidden spot on the wood. If it doesn’t spoil the wood, apply a spray bottle to the crayon-stained spot.
Spray some of the solution on a clean cloth to start. A paper towel is sufficient if there is no soft cloth nearby. Use a paper towel or rag to rub the crayon stain off the wood surface. It should be applied to all stained areas of the wood. Then use a dry cloth to remove the crayon.
For hard-to-wash or old crayons, more patience may be needed. The WD-40 in the series has a special cleaner for cleaning and removing stains, which also helps a lot with removing stubborn crayon stains.
To remove WD-40, pass the soft part of the sponge dampened with a little detergent, rub the place in circular movements, do not soak the sponge too much. Wipe clean dry cloth to dry.
Most of the time, the stains disappear immediately after applying the solution. If not, it may be because you have more difficult crayon stains. The WD-40 is known for its mess-free pen, which can be used to remove stubborn stains. Although WD-40 can do a great job, there may be tiny stains on walls or wooden blocks.
How to remove crayons with household products:
| Household Products | How to Remove Crayon from Wood |
|---|---|
| Vinegar | Put a little mayonnaise on top of the crayon mark and rub it with a soft-textured sponge with firm movements. Once you have spread the mayonnaise on the crayon marks, let it act for 5 minutes and then remove it with a damp cloth and let the wood surface dry. |
| Mayonnaise | Take white toothpaste (without teeth whitening effect) and apply it to the crayon marks. Gently rub the crayon marks with a toothbrush filled with toothpaste until the crayon marks are removed from the wood surface. |
| Baking Soda | Mix baking soda with a little water to make a paste. Then, with the help of a sponge, gently rub it over the crayon mark. Let it work for 5 minutes and remove it from the wood surface with a damp cloth. |
| Toothpaste | Take white toothpaste (without teeth whitening effect) and apply it to the crayon marks. Gently rub the crayon marks with a toothbrush filled with toothpaste until the crayon marks are removed from wood surface. |
Tips for Preventing Future Crayon Marks on Wood Surfaces
Here are some of my top tips as a professional woodworker for preventing crayon marks on wood surfaces:
- Use placemats or tablecloths on top of wooden tables and desks. This creates a protective barrier between coloring activities and the wood finish.
- Seal unfinished wood with a protective finish like polyurethane. The finish creates a surface that repels wax and color pigments.
- Limit coloring activities to designated areas, like an art table or easel. Don’t allow coloring on non-protected wood.
- Store crayons, markers, and pens in a box or case when not in use. Never leave drawing implements loose on wood surfaces.
- Supervise young children during coloring time and remind them to only color on paper, not wood. Lead by example.
- Use washable crayons and markers, which can be easily removed with water if marks occur. Avoid permanent markers.
- Place coloring books or paper on a clipboard, not directly on the wood surface. This prevents stray marks.
- Clean up immediately after coloring is done, don’t leave drawing tools unattended. Put them away properly.
If you want to protect your wooden furniture you need to learn how to apply beeswax!

