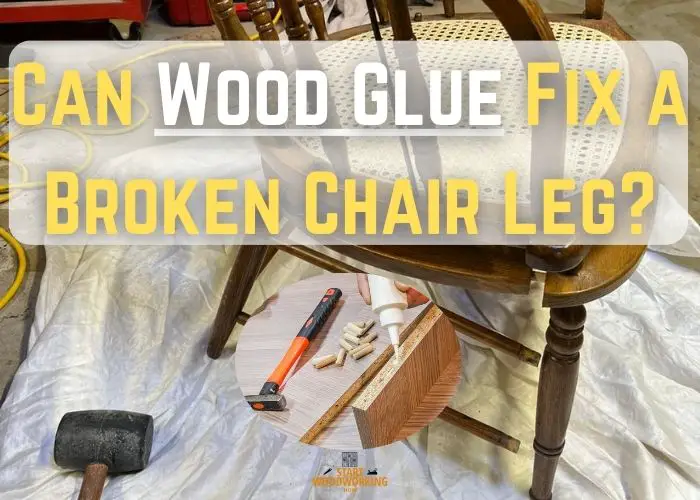
Can Wood Glue Fix a Broken Chair Leg? Find Out Now!
In this post, I aim to address a common woodworking dilemma – when a chair leg breaks, can wood glue sufficiently repair the damage? As an experienced craftsman, I hope to provide guidance to help you determine the best approach for strengthening broken joints and restoring functionality with a permanent bond.
Yes, wood glue can effectively fix a broken chair leg when properly applied and clamped. For minor cracks or splits, a high-quality wood glue, such as PVA glue, is suitable. In the case of major breaks or separations, polyurethane glue is recommended for its strong and durable bond. Proper surface preparation and clamping pressure during curing are also important. While wood glue alone may suffice for minor breaks, reinforcing the joint with dowels or splines can add extra support.
| Type of Chair Leg Damage | Recommended Glue |
|---|---|
| Minor crack or split | Wood glue (PVA) |
| Major break or separation | Polyurethane glue |
| Additional reinforcement needed | Wood glue (PVA) with dowels |
Choosing the Right Wood Glue for Your Chair Leg Repair
While these are the most commonly used types of wood glue for fixing broken chair legs, it’s important to consider the specific needs of your repair project. Here are some factors to keep in mind when selecting the right wood glue:
- Quality and freshness of glue: Using old or low-quality glue may lead to repair failure. Check the expiration date on the glue, and be sure to properly store it to maintain its effectiveness.
- Indoor or outdoor use: If the chair being repaired is intended for outdoor use, select a waterproof glue, such as polyurethane, that can withstand the elements.
- Antique vs. modern furniture: If repairing an antique piece with future disassembly in mind, hide glue is a suitable option due to its reversible bond.
- Type of damage: For loose joints or instances where there’s a gap in the wood, consider using an adhesive that provides gap-filling properties, such as epoxy.
| Quality and Freshness of Glue | Indoor or Outdoor Use | Antique vs. Modern Chair | Type of Damage | Recommended Glue |
|---|---|---|---|---|
| Fresh glue | Indoor use | Antique | Minor crack or split | Wood glue (PVA) |
| Fresh glue | Indoor use | Antique | Major break or separation | Polyurethane glue |
| Fresh glue | Indoor use | Antique | Additional reinforcement needed | Wood glue (PVA) with dowels |
| Fresh glue | Outdoor use | Modern | Minor crack or split | Polyurethane glue |
| Fresh glue | Outdoor use | Modern | Major break or separation | Epoxy glue |
| Fresh glue | Outdoor use | Modern | Additional reinforcement needed | Wood glue (PVA) with dowels and epoxy glue |
| Old or expired glue | Indoor use | Antique | Minor crack or split | Replace with fresh wood glue (PVA) |
| Old or expired glue | Indoor use | Antique | Major break or separation | Replace with fresh polyurethane glue |
| Old or expired glue | Indoor use | Antique | Additional reinforcement needed | Replace with fresh wood glue (PVA) with dowels |
| Old or expired glue | Outdoor use | Modern | Minor crack or split | Replace with fresh polyurethane glue |
| Old or expired glue | Outdoor use | Modern | Major break or separation | Replace with fresh epoxy glue |
| Old or expired glue | Outdoor use | Modern | Additional reinforcement needed | Replace with fresh wood glue (PVA) with dowels and epoxy glue |
Step-by-Step Guide to Fixing a Broken Chair Leg with Wood Glue
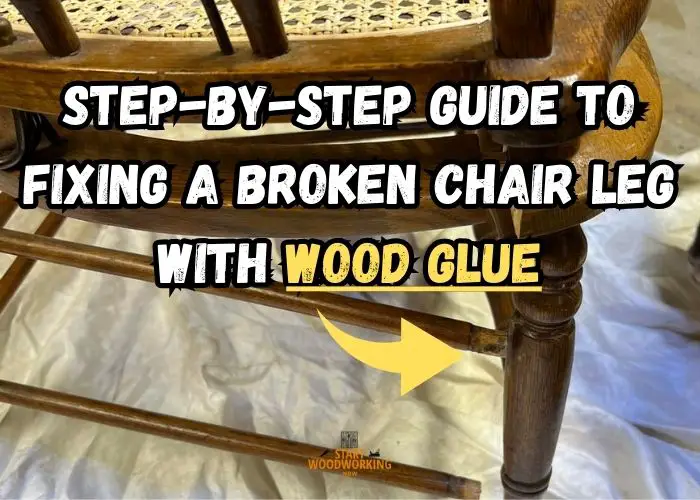
1. Evaluate the Damage
Start by assessing the extent of the damage of the chair leg. Loose or broken chair components, including legs, rungs, seat frames, and spindles, may necessitate wood glue repair if detected early.
If you catch the issue in time, disassembling the joints and cleaning them thoroughly can result in a stronger and longer-lasting repair.
However, in cases of severe damage, it may be necessary to reinforce the chair leg by using triangular glue blocks and clamping while the glue bonds the pieces together.
2. Prepare the Broken Chair Leg for Glue Application
- Clean the joint: Remove any old adhesive or finish from the joint by sanding or filing the tenon and using a similar process to clean the mortise. Cleaning mortises and tenons is an essential step in preparing for chair leg repair with wood glue, as it allows the new glue to adhere properly to the bare wood surfaces.
- Test the fit: Before applying glue, test the fit of the tenon in the mortise to make sure it sits snugly and can be clamped securely.
- Prepare the clamping setup: Gather the necessary clamps or cotton rope to ensure a secure clamping process during curing.
3. Apply Wood Glue to the Broken Leg
- Apply glue to surfaces: Using an artist’s brush, spread wood glue evenly on both the tenon and the mortise, covering all contact surfaces except the bottom areas where no contact occurs.
- Insert the tenon: Fit the tenon into the mortise, aligning the parts properly and making sure the chair leg is in the correct position.
4. Clamp and Cure: Ensuring a Strong Bond
- Clamp the joint: Apply a moderate amount of pressure using clamps or cotton rope, adjusting for odd angles and round parts if necessary. Quick grip clamps with rubber pads can be a suitable option for such situations.
- Balance the chair: While clamping, ensure the chair is balanced to prevent uneven legs and reduce the need for additional trimming or alignment.
- Allow the glue to cure: Leave the chair in the clamped position for at least 24 hours to ensure proper curing and a strong bond.
Additional Techniques to Reinforce a Repaired Chair Leg
While wood glue serves as an effective approach for basic repairs, certain situations might call for additional reinforcement. Utilizing techniques such as dowel pinning and splines can provide the extra support needed to strengthen the repairs for long-lasting results.
- Dowel Pinning: Dowel pinning involves drilling holes in the joint areas of both the broken leg and chair frame, inserting a wooden dowel, and using wood glue to bond both pieces together. This method adds extra support, especially in cases where the damage is extensive or where regular glue fails to hold the joint securely.
- Reinforcing with Splines: When dealing with particularly damaged joints or chair legs that have endured unsuccessful repairs in the past, reinforcing the joint with a spline can provide a viable solution for preserving the furniture. This method includes cutting a slot into the joint area and inserting a small piece of wood, followed by securing the spline with wood glue to create a strong bond.
“Splines involve creating a slot and inserting a new piece of wood to create continuity and strength through the joint, which is particularly effective for repairing previous poor fixes and for preserving furniture otherwise destined for disposal.”
Consider the following table when determining which reinforcement technique might be best suited for your chair leg repair:
| Reinforcement Technique | Best for | Highlights |
|---|---|---|
| Dowel Pinning | Extensive damage, loose or unstable joints | Provides additional support by connecting the chair leg and frame with a wooden dowel |
| Reinforcing with Splines | Previously unsuccessful repairs, preserving valuable furniture | Inserts a small piece of wood into a slot cut into the joint area for increased strength and stability |
Common Pitfalls to Avoid When Using Wood Glue on Chair Legs
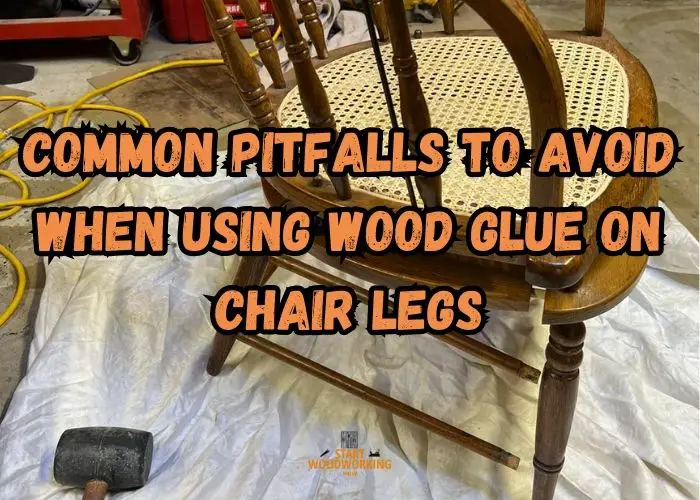
Here are some of the most common pitfalls and tips for avoiding them:
- Neglecting to clean old adhesive from joints: Removing old glue or other residue stuck in the joints is essential for the new adhesive to form a strong bond. Make sure to clean all the surfaces thoroughly before applying wood glue.
- Using old or low-quality glue: Old or low-quality glue may not have the same bonding strength as a fresh, high-quality product. Always use new, reputable wood glue for the best results.
- Not applying glue evenly: To create a proper bond, it is crucial that the glue is applied evenly across the joint’s surfaces. Uneven application can lead to gaps or weak bonds that reduce the repair’s effectiveness.
- Inadequate clamping: Insufficient pressure during the clamping process can result in weak bonds or misaligned chair legs. Make sure to use a proper clamping strategy tailored to the chair leg’s shape and size.
- Using inappropriate glue types: Not all wood glues are suitable for every chair leg repair situation. Ensure you are using the correct wood glue for your specific repair needs, such as exterior furniture or antique restoration.
Prevention is the key to success with wood glue repairs. Keep in mind the following table when working on chair leg repairs:
| Mistake | Consequence | Prevention Tip |
|---|---|---|
| Not cleaning surfaces | Weak bond | Clean joint surfaces thoroughly |
| Using old or low-quality glue | Weak bond / repair failure | Use fresh, high-quality wood glue |
| Uneven glue application | Weak bond / gaps | Apply glue evenly |
| Inadequate clamping | Misaligned chair leg / weak bond | Ensure proper clamping |
| Using improper glue type | Damaged furniture / weak bond | Select the correct wood glue for your specific repair |
Comparing Wood Glue Strength to Mechanical Fasteners
When comparing the strength of wood glue to mechanical fasteners, it is important to consider their impact on the chair’s structural integrity. Mechanical fasteners such as screws and nails can wear down wood over time, eventually leading to joint failure.
Additionally, these fasteners may not be visually appealing, detracting from the chair’s overall appearance.
Wood glue, on the other hand, creates a tighter joint by bonding the wood fibers, resulting in a stronger, more seamless connection.
The table below outlines some of the main differences between wood glue and mechanical fasteners in terms of strength and aesthetics:
| Comparison Factors | Wood Glue | Mechanical Fasteners |
|---|---|---|
| Strength | High bond strength, preserving the chair’s structural integrity | Can wear down wood over time, potentially leading to joint failure |
| Aesthetics | Seamless and less visible, enhancing the chair’s appearance | Visible and potentially unappealing, detracting from the chair’s appearance |
Wood Glue as a Cost-effective Repair Solution
Wood glue offers a cost-effective solution for chair leg repairs when compared to professional repair services or furniture replacement. Its strong bonding capabilities not only enable users to save money but also to prolong the lifespan of their cherished furniture items.
Another advantage of using wood glue is its versatility in fixing a variety of wooden chair types, including antiques and modern designs.
- Wood glue is more affordable than professional repair services
- Preserves and prolongs the life of furniture
- Offers a strong bond for various wooden chair types
Examples of Successful Broken Chair Leg Repairs with Wood Glue
There are countless examples of successful furniture repairs using wood glue to fix broken chair legs. These cases emphasize the efficacy of wood glue in restoring both function and aesthetics to damaged furniture.
Here, we explore a few real-world examples that showcase the steps involved in the repair process, from assessing the damage to clamping and finishing.
“I saved my dining chair with just some wood glue! I applied Titebond III Wood Glue after cleaning the old adhesive off of the broken leg, clamped it tightly, and waited for it to dry. It’s been six months and the chair is sturdy and good as new.” – Maria, Baldwin Park, CA
| Case Study | Type of Chair | Type of Wood Glue | Outcome |
|---|---|---|---|
| #1: Antique Chair | 19th-century antique | Hide glue | Structurally sound, preserving the antique’s value and functionality |
| #2: Modern Chair | Modern wooden chair | PVA glue | Solidly anchored leg, fully functional and aesthetically pleasing chair |
Case Study #1: Repairing an Antique Chair with Hide Glue
- Assess the damage: The owner of a 19th-century antique chair noticed a loose joint in one of the legs and decided to fix it before further damage occurred.
- Choose the appropriate glue: Hide glue was selected for this repair due to its traditional use in antique restoration and ability to be reactivated if needed.
- Prepare the joint: The chair owner carefully removed the leg, cleaned the mortise and tenon of any old glue or debris, and gently sanded the surfaces for better adhesion.
- Apply the glue: They applied an even layer of hide glue to both the mortise and tenon, ensuring excellent coverage.
- Clamp and cure: They securely clamped the chair leg in place and allowed it to cure for 24 hours before removing the clamps.
- Result: The chair is now structurally sound and back in use, preserving the antique’s value and functionality for years to come.
Case Study #2: Fixing a Modern Chair with PVA Glue
- Assess the damage: A broken leg on a modern wooden chair required repair to avoid replacement costs and maintain the chair’s usefulness.
- Choose the appropriate glue: PVA glue was chosen for its strong bond, water-resistance, and ease of clean-up.
- Prepare the joint: The owner thoroughly cleaned the mortise and tenon before applying any glue, removing any old adhesive and debris.
- Apply the glue: They applied a generous amount of PVA glue to both the mortise and tenon, ensuring full coverage of the joint surfaces.
- Clamp and cure: The chair was clamped securely and allowed to cure for several hours, during which time it was periodically checked for alignment.
- Result: The chair leg is now solidly anchored, and the repaired chair is fully functional and aesthetically pleasing.
These wood glue repair case studies demonstrate the durability and versatility of wood glue in fixing broken chair legs. By following the appropriate steps and using the right type of wood glue, homeowners and furniture owners alike can experience successful, long-lasting repairs.
Conclusion
Fixing a broken chair leg with wood glue is a cost-effective, sustainable solution for furniture repairs. With the right technique, choice of glue, and knowing how to avoid common pitfalls, you can ensure the longevity and stability of refurbished chairs.
This easy chair leg fix with wood glue can save you time and money, while also preserving the aesthetic and functional qualities of your furniture.
Frequently Asked Questions
Selecting the right wood glue depends on factors such as the type of wood, indoor or outdoor use, and if the furniture is antique or modern. Common options include PVA glue for general interior furniture repair, hide glue for antique restoration, polyurethane glue for outdoor furniture, and epoxy for filling voids in loose joints.
To avoid common pitfalls in chair leg repair, make sure to clean old adhesive from joints, use fresh and high-quality glue, apply glue evenly, and use the right type of clamps to ensure proper pressure. Also, avoid using the wrong type of glue for exterior furniture or restoration projects to prevent damage.
Yes, you can use techniques such as dowel pinning or splines to provide additional strength and stability to repaired chair legs. These methods involve adding extra wooden parts to create continuity and strength through the joint, particularly effective for repairing previous poor fixes or preserving furniture that would otherwise be discarded.